Making good food at home without breaking your budget

Monday, September 28, 2015

Breakfast Egg Muffins

Sometimes breakfast at our house can be a fast paced out the door episode.  But, you still need something healthy.  Or, maybe the grand kids are over and you need them to eat something besides cereal.  That's where my breakfast egg muffins come in handy.  I can feed my family a good protein breakfast and also hide vegetables in it, and make it a handheld on the go type of meal.

First Preheat your oven to 425 degrees
You will need:
baking spray
4 large eggs
your choice of filling, (today I am using leftover roasted chicken, spinach, and mushrooms)
2 Tabs milk
2 Tabs shredded cheese, (your choice)
salt and pepper

First, generously spray a standard sized muffin pan, (this recipe will make 6 breakfast muffins).
Next, chop your fillings in small bite sized pieces.

Chicken, spinach, and mushrooms are good.  Bacon, green onions, and peppers are a good choice.  Sausage, onion, and red and green peppers are also a good choice.  It's whatever combination you like for your filling.  Just think about what you like in an omelet.

Now layer your filling in the muffin tin.
In a bowl, whisk 4 eggs and 2 Tablespoons of milk.  Don't forget to salt and pepper your eggs.
Pour the egg mixture over the filling.
Top the egg and filling with your choice of cheese.  Any kind of shredded cheese will work.

Bake for 20 minutes.
After 20 minutes, this is how your breakfast muffins will look.  No stirring, no fussing over them.
Remove from the muffin tin, and if you're feeding them to little ones, let them cool a few minutes, (so they kids don't get burned).  Then enjoy!!
As you can see, the inside is nice and fluffy.  You can eat them with your hands, (as your heading out the door).
Or sit down, and have a couple on a plate with your juice, (or coffee).

I like to make these on Sunday evening, place them in a plastic bag in the refrigerator, (after they have cooled completely), and then they are ready to grab and go, (yes, you can eat them cold), or microwave them for 20 seconds and enjoy them nice and warm.

Make up a batch, with different fillings and have breakfast ready to go.  Just look at what leftovers are in your refrigerator.

ENJOY !


Monday, September 21, 2015

Baked Salmon

This week a local grocer was selling fresh salmon for $3.49 per pound.  When I saw this 4 pound piece, I knew that baked salmon was going to be on our dinner table.  When I told a couple of people about the sale, they asked "Are you going to grill it or fry it?"  When I replied, "no, I'm going to bake it", they asked how I prepared a baked salmon.  So, I am sharing with you now how I make a delicious, healthy, and moist baked salmon, that your family will enjoy.  This 4 pound piece will easily feed 8 people, so when you buy your fish, figure 1/2 pound per serving.
You will need:
salmon
olive oil
sea salt, (preferred, or table salt)
black pepper
garlic powder
onion, (1/2 of a medium or 1 small)
lemon
fresh dill (about 1 small handful)


Preheat your oven to 350 degrees
Remove the dill ferns from the stems, and discard the stems.  I leave my ferns intact, since I am just going to lay them across the top of the salmon for flavoring.
Slice the onion into thin slices.  You only need a small onion, or 1/2 of a medium sized onion.
Line a baking pan with foil and spray with baking spray, (this is simply to help with clean up, not entirely necessary - you can simply spray the pan without the foil).
Place the salmon, skin side down in the pan.  Very lightly drizzle the olive oil over the top of the salmon.
Sprinkle the salt over the salmon, (I like to use sea salt, but you can also use table salt).
Sprinkle black pepper over the salmon.
Squeeze the juice from 1/2 of a fresh lemon over the salmon
Sprinkle the garlic powder over the salmon, (fresh minced garlic is also a very good choice).
Lay the onion slices over the salmon.
Finally, lay the dill over the top of the onion slices.  Bake for 30 minutes, uncovered.
It's now been 30 minutes, and as you can see the salmon flakes easily, yet is still juicy.
Add a tossed salad, and some sautèed vegetables and you've got a delicious dinner that's also healthy, (if you want to add a nice dill sauce that's good, but the dill cooked on top of the salmon has already added flavor, so it's not really needed).

Give this a try, and your family will enjoy baked salmon as much, or better, than other fried fish.

And the best part about the leftovers is the versatility of this dish.  You can prepare a mixed green salad, add the salmon on top with a nice vinaigrette, or shred the salmon add some breadcrumbs and an egg to make a wonderful salmon patty, or simply slice the leftovers into sandwich sizes and serve on a toasted bun with lettuce, tomato, and some mayo, (all of these are so yummy).

Enjoy !

Monday, September 14, 2015

Okra and Tomatoes

Most people say they don't like okra, but it's probably because they haven't had it fixed properly.  This year I am growing it in my garden, and I have been experimenting with different ways to cook okra.  This is by far the best way that we like it, and you might also like this side dish, and just a hand full will serve 4 people easy.
 First you want to make sure that the okra is about 2 to 3 inches long, (any longer and they tend to be very tough).  You also want the okra to be a very bright green color.

A little fact:  okra was brought to the United States by Ethiopian slaves in the 1700's and is a staple in most southern dishes.  It is especially delicious in gumbo and dipped in a batter and deep fried.
For this recipe you will need:
2 Tab. olive oil
1/2 of a medium onion
2 cloves garlic
8 ounces, (a large handful), okra
1/2 teas salt
1/4 teas ground black pepper
4 or 5 small tomatoes
1 lemon
1 handful of fresh basil leaves
Give the okra a rinse, then trim the tip off.
 Trim off the stem end.
Cut the okra into 1/2 inch pieces.  You should have about 2 cups of cut okra.
 Mince the 2 cloves of garlic.
Slice 1/2 of a medium onion into thin slices.
Cut the tomatoes into thin wedges.
Put 2 Tablespoons of olive oil into a saucepan, over medium heat.
Add the onions and garlic. Cook until the onion is softened, not browned.
Turn the heat to low, and add the okra, salt and pepper.  Stir everything well.
Cover with a lid and cook for about 15 minutes, until the okra is almost tender.
 While the okra is cooking, chop the basil leaves, (you should have about 2 Tablespoons).
 After 15 minutes, test the okra to see if it is almost tender.
 If the okra is almost tender, add the tomatoes.  Stir and cook for another 3 minutes.
Add the basil and squeeze 1/2 of the lemon over the okra and tomatoes.  Give everything a good stir and you are ready to serve.
This is an excellent side dish with any meat dish.  And the tomatoes and basil give it an Italian flavor, rather than the usual southern flavor one expects from an okra dish.

Give this a try and you might find that you do like okra after all!

Enjoy !

Monday, September 7, 2015

Steamed Mussles with Roasted Chiles

This time of year, (from late August to the end of September), in our area of the country, means it's Hatch Chili Season.  And getting your hands on a batch, or even better a bushel of these wonderful lightly pungent, (similar to an onion, or like garlic), with a subtly sweet, spicy, crisp, and smoky taste peppers and then having them roasted until the skin is a black charred coating, which delivers an earthiness and bite while it mellows the front-heat and delivers more of a back-heat.  
 A hatch chili is grown in the hatch valley of New Mexico.  In it's non roasted form, it looks very much like any other green or red chili.  The one exception is that the hatch chili has a thicker skin which protects it from the extremely hot day and very cold nights of the area that it is grown in.  And, this thick skin is what makes it wonderful for roasting, since the smoky flavor penetrates the chili without damaging the interior cells.  And a full bushel of roasted chili this time of year in our area will usually only cost around $25 - $30.  It's a good deal to get a bushel, and pack them in small freezer bags to use all year long.
Also, I noticed that a local grocer was selling mussels for a really good price of $4.99 a pound, so I knew that with some of my chilies and a few items from the garden, a full dinner was not far from the table.  This is a recipe that your friends will think took you all day to prepare, but in reality, you can have this on the table in about an hour, (including all the prep time).  And there won't be hardly any leftovers.  You can easily feed 4 to 6 people with this recipe,  and it's all prepared on the stove top.
You will need:
6 Tabs butter
1 leek
1 cup cilantro
2 or 3 roasted chilies
2 pounds of tomatoes
3 cloves garlic
2 cups chicken broth, (or dry white wine)
2 to 3 pound mussels
salt and pepper
lemon

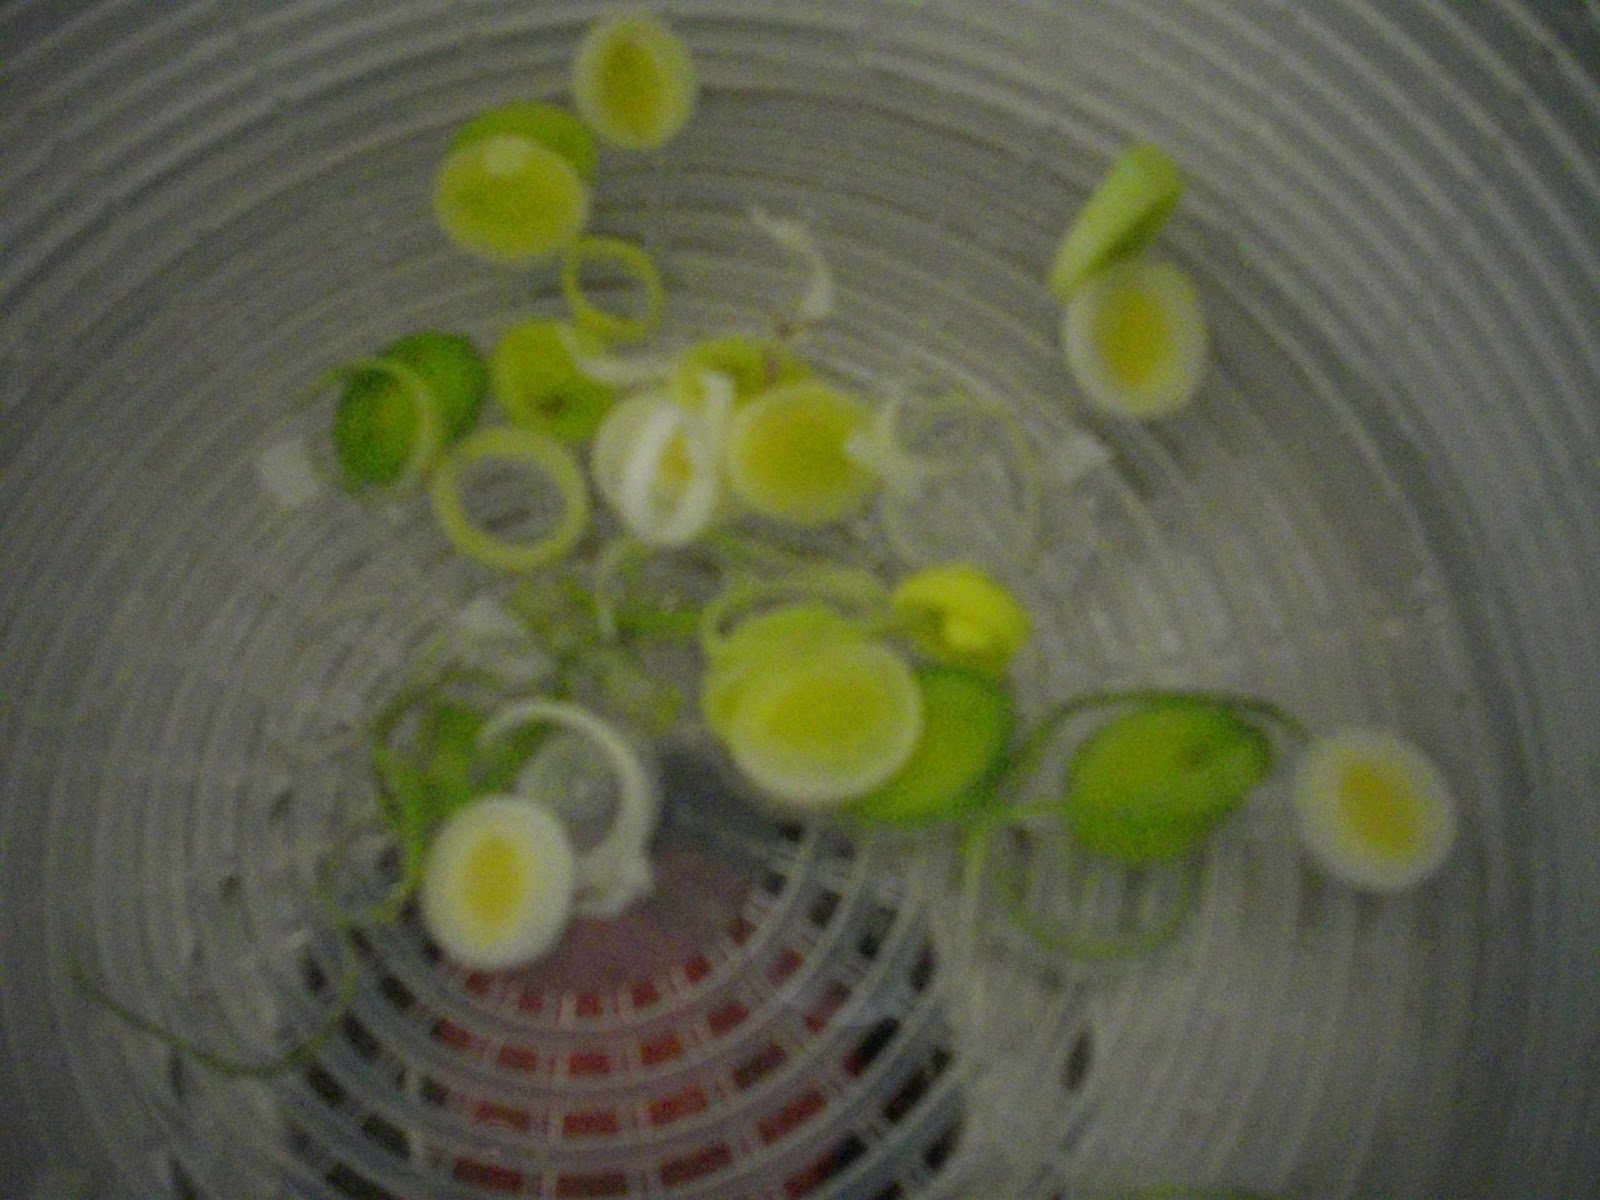
First slice the white part and just the very light green part of the leek into rounds and rinse very well.
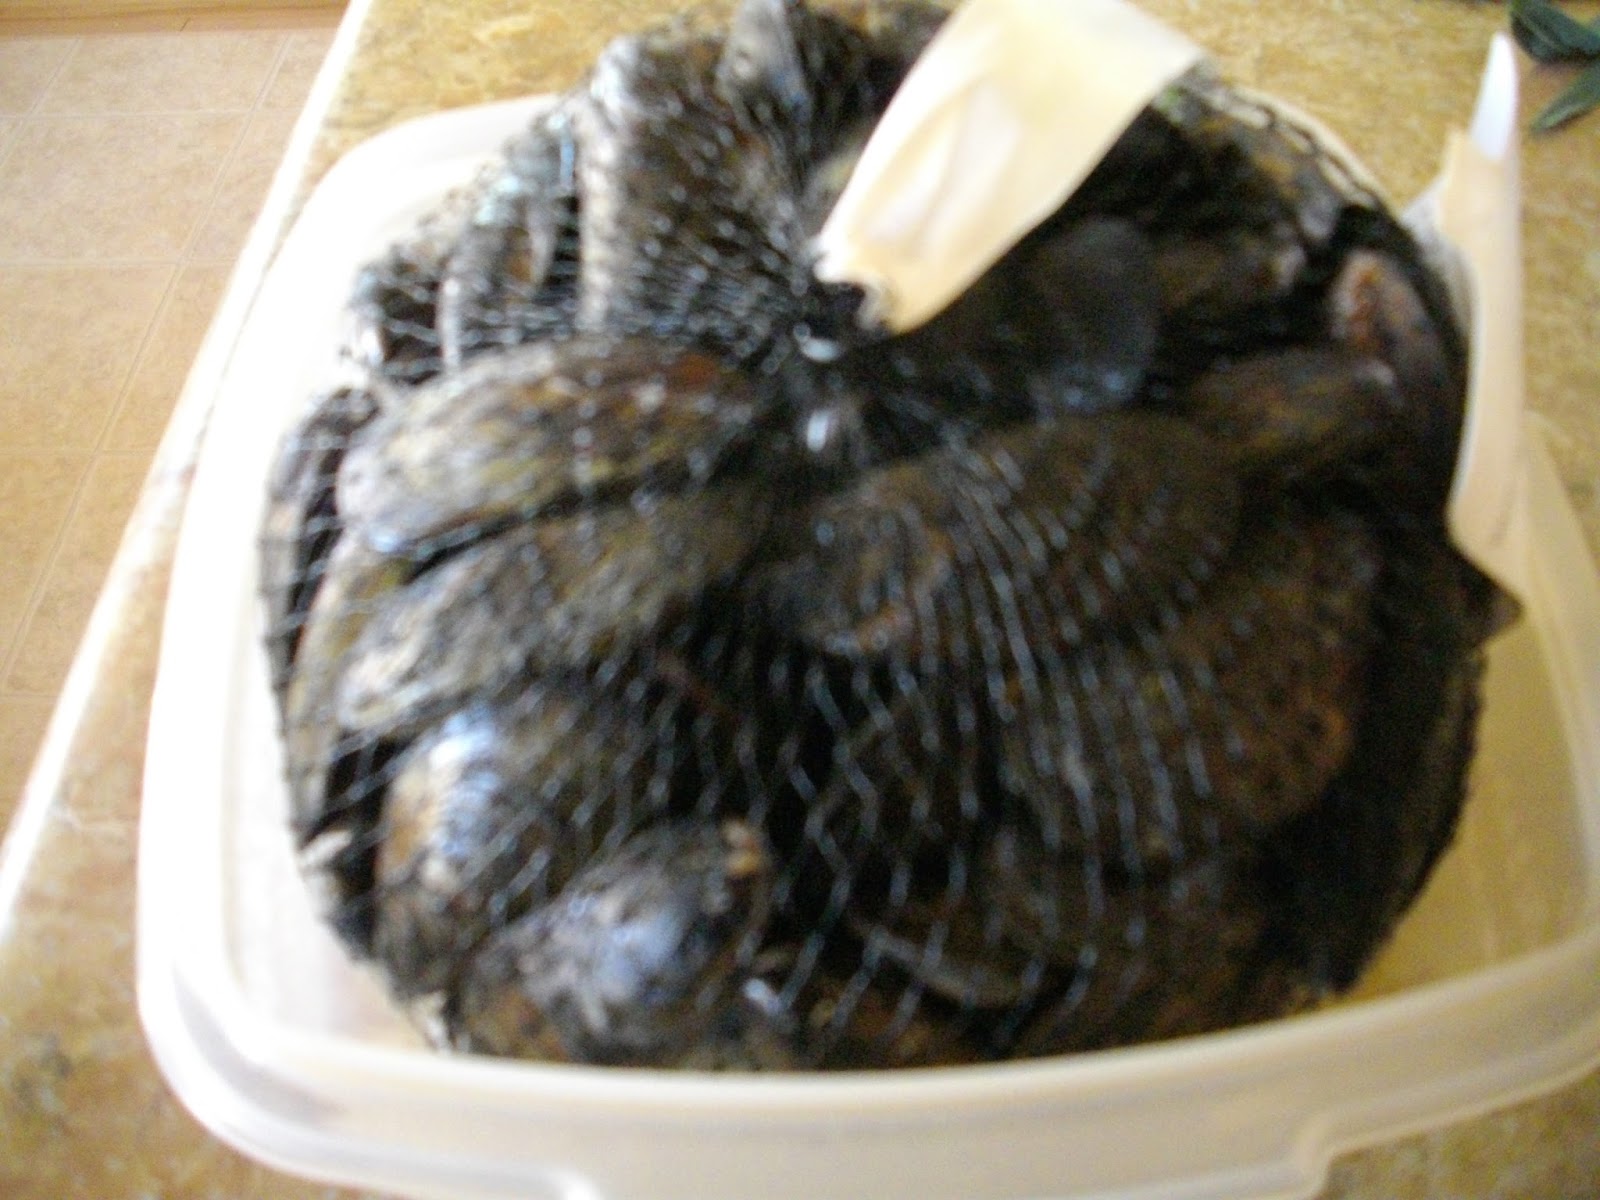
Next sort through the mussels and discard any broken or cracked mussels.  If you find any mussels that are open just tap them on the counter lightly and they should close up - if they don't, discard them.  Next, notice that little protrusion, (that's called the beard), remove it.
Just grab it with a paring knife and pull it out of the mussel and discard it.   Give your mussels a light rinse.
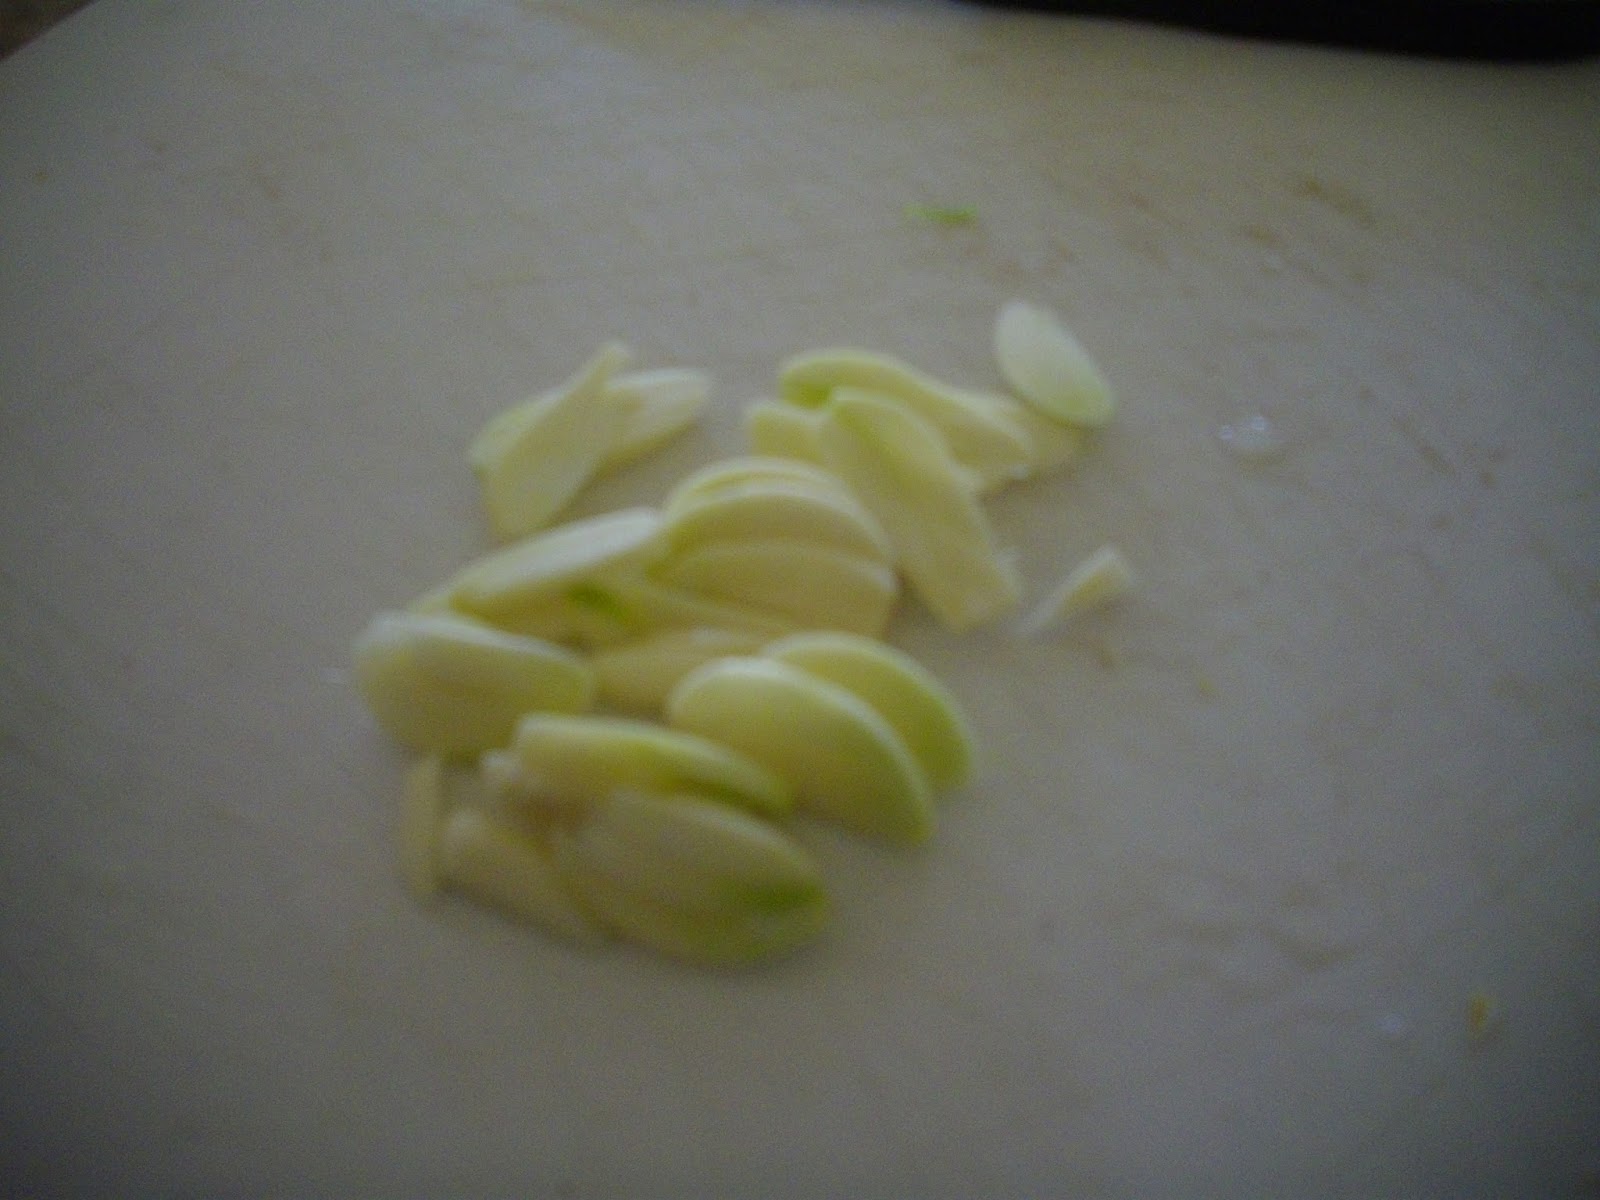
 Slice the garlic
I am using tomatoes from my garden, but you can also use 1 - 28 ounce can of tomatoes.  Also, you can use Fire Roasted Tomatoes to add another wonderful layer of flavor to this dish, instead of fresh tomatoes.
Chop tomatoes
Remove the exterior skin, seeds and membrane from roasted chilies.  Depending on the level of heat you would like in your broth, you can leave a few seeds and the membrane.
 Chop the chilies
Chop the cilantro leaves.

If you want, you can also use flat leaf parsley.
In a sauce pan,over medium high heat, melt 4 Tablespoons of butter.
Add the leek and saute' lightly, just until soft, (but NOT brown).
Add the cilantro and stir
 Add the chilies
Add the tomatoes
Add the chicken broth.

I am using my homemade chicken broth, but you can also use store bought.
Add the garlic.  Give everything a good stir.
Bring the liquid to a boil, then reduce the heat and let the broth simmer for about 5 minutes, (to allow the flavors to marry each other).
 Now increase the heat to high, and add the mussels.  Cover the pot with a tight fitting lid and let cook for 5 to 6 minutes.  Do not lift the lid and peek at the mussels, just let them steam.
After the mussel are done, (they will be open), remove the mussels immediately, from the broth, (and discard any mussels that did NOT open during steaming).

Continue boiling the broth for about another 2 minutes to reduce it down, then add another 2 Tablespoons butter, and remove from heat.

Squeeze the juice from 1/2 of lemon into the broth.
Give the broth a taste, then season with salt and pepper.
 Pour the broth over your mussels, and you are ready to serve.
 This dish has almost your complete meal, fish, and vegetables.  Usually, I like to cook a little linguine on the side to have with my steamed mussels.
But, tonight we are have a big tossed salad and steamed mussels for dinner.

Give this easy dish a try and your family and friends will be wowed and truly enjoy it.

Now go enjoy a new way with steamed mussels.