Easter always means hot cross buns at our house. It was something that I always remembered from my childhood, (that wonderful rich sweet dough filled with fruit and the little icing cross on the top as a reminder of the holiday). I noticed this week that several of the local bakers and grocers were selling their hot cross buns for $5.00 a dozen, (and some for even more)!! Such an outrageous price. Just a couple of hours, and a couple of dollars will give you a dozen of wonderful buns that you will be delighted to serve. Let me show you my recipe.
For the rolls you will need:
1/4 cup rum
1/2 cup mixed dried fruit
1/2 cup raisins
1 1/4 cup + 1 Tabs. milk, (room temperature)
3 large eggs
6 Tabs butter, (room temperature)
2 Teas. instant yeast
1/4 cup brown sugar, (firmly packed)
1 teas ground cinnamon
1/4 teas allspice
1/4 teas ground nutmeg
1 3/4 teas salt
1 Tabs baking powder
4 1/2 cups all purpose flour
For the icing you will need:
1 cup + 2 Tabs confectioners' sugar
1/2 teas vanilla extract
pinch of salt
4 teas milk
In a small bowl combine the dried fruit and rum.
Note: you can substitute apple juice, or even water with rum extract, but I find the rum gives the rolls a much better taste, and don't worry the alcohol burns off.
Cover with plastic wrap, and microwave for a couple of minutes to soften the fruit and warm the liquid. Set aside, to cool to room temperature.
You will notice that the liquid is absorbed by the fruit, this is a good sign.
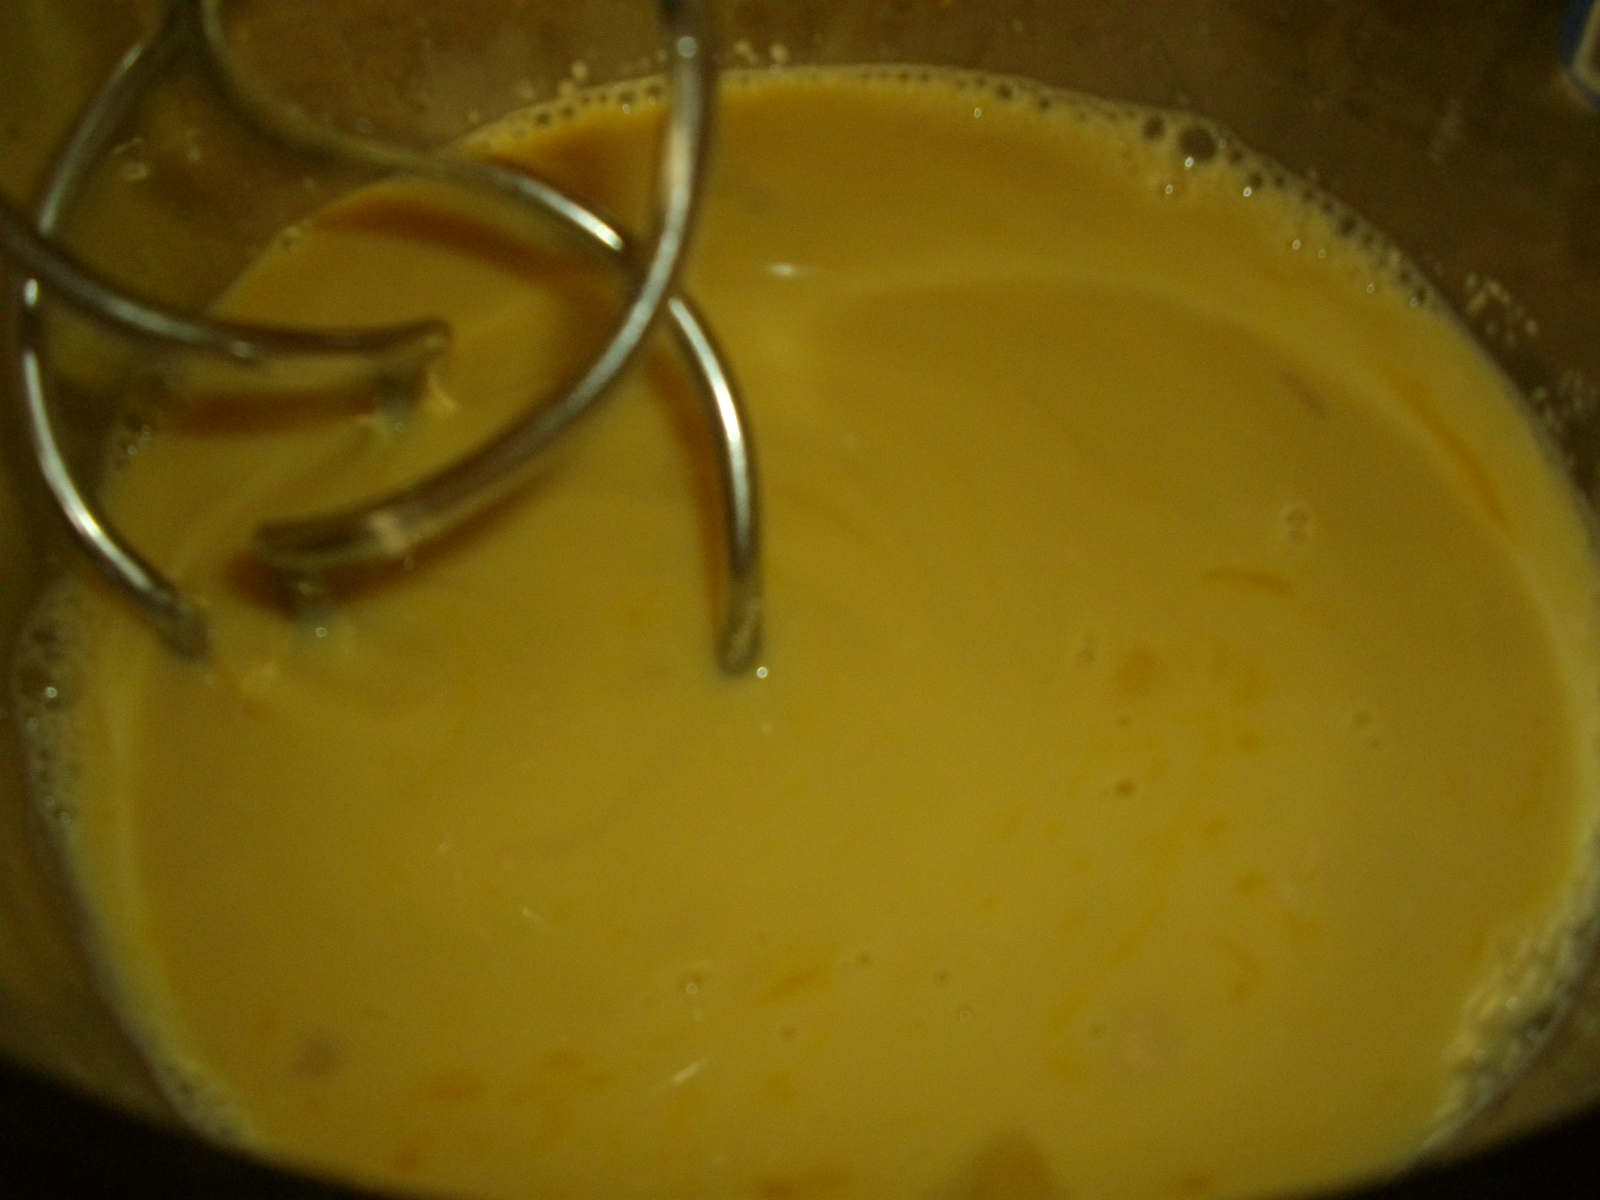
With your stand mixer, (and dough hooks), in a large bowl add 2 eggs and 1 egg yoke. Keep the egg white, (you will use it for the dough topping).
Add 1 1/4 cups of room temperature milk and 6 Tabs. butter.
Add the yeast.
Add the brown sugar, (break up the sugar and sprinkle it into the bowl).
Turn on the mixer for a minute on low to incorporate everything.
Add the cinnamon.
Add the allspice.
Add the nutmeg.
Add the salt.
Add the baking powder.
Turn on the mixer, and start adding the flour.
Keep mixing until the dough comes together.
Note: If you want to make the dough in a bread machine Place all the ingredients into the dough pan, (in the order that your machine suggests), and start on the dough cycle. I have made this both ways and both ways give the same results.
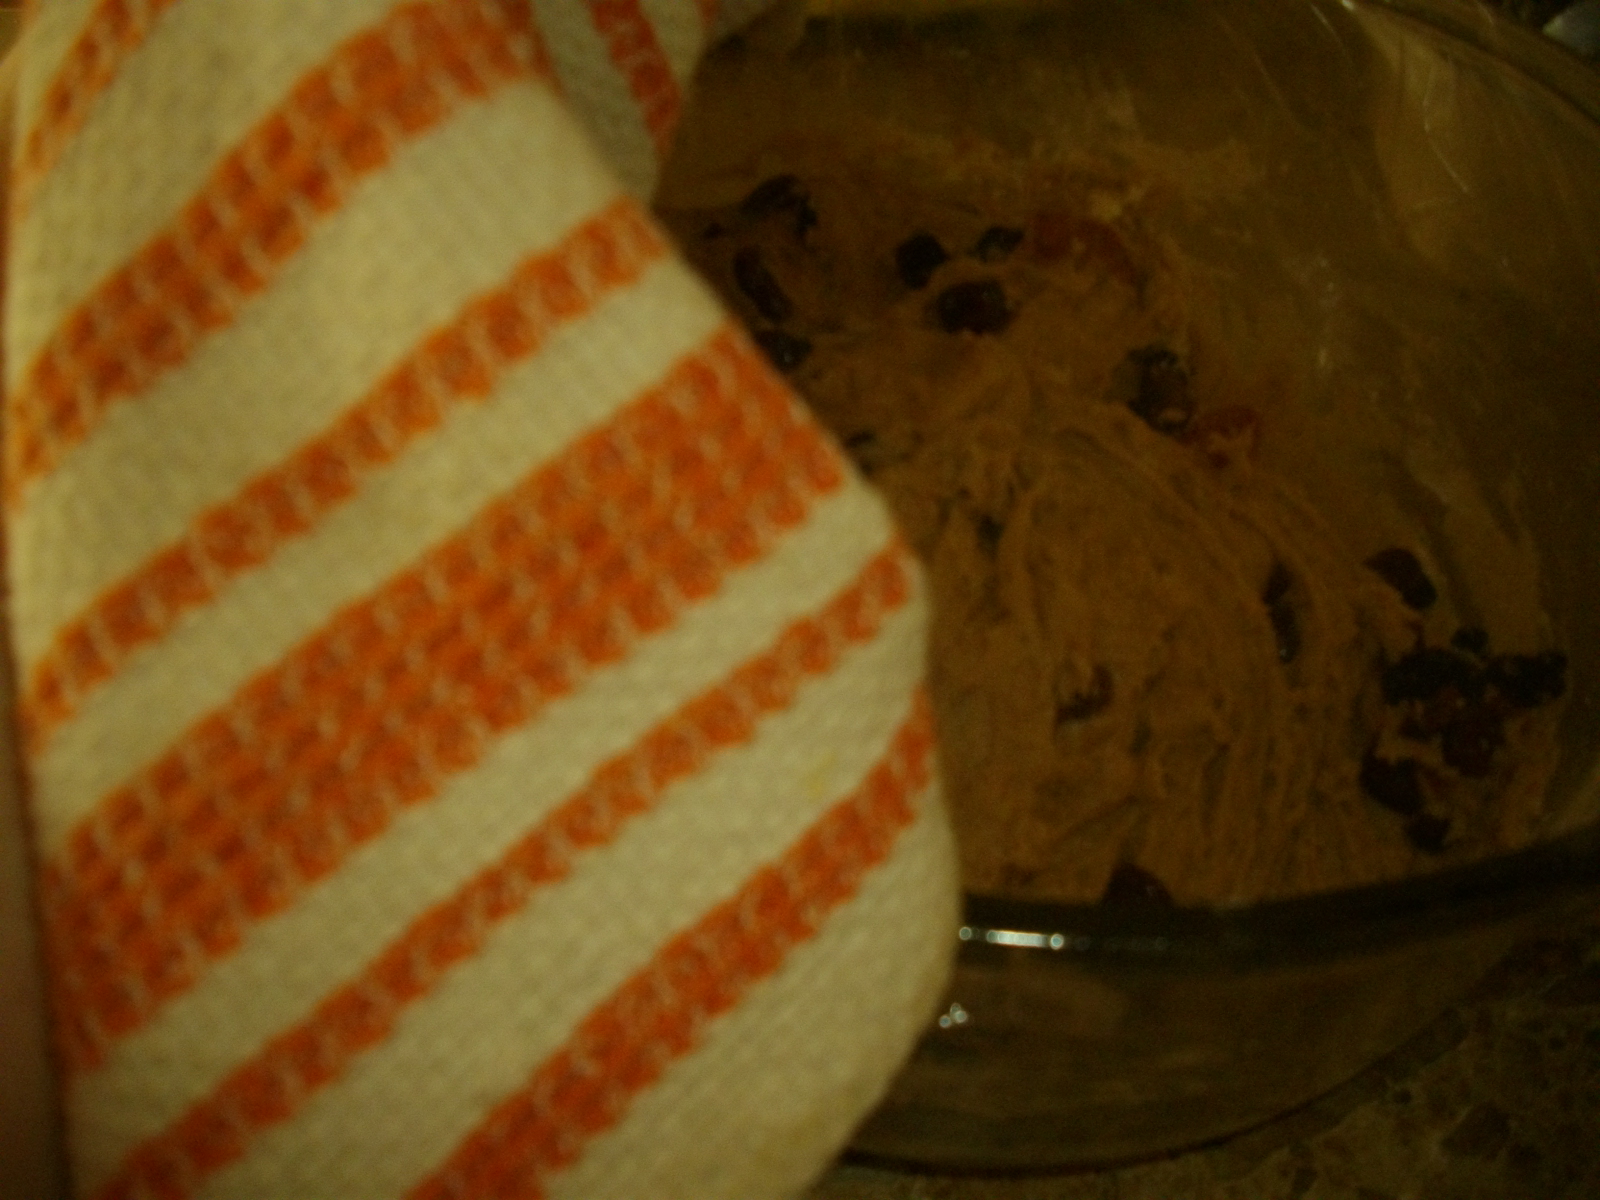
Once the dough comes together, add the mixed fruit, (and if there is any liquid add that also).
Add the raisins. Continue mixing until the dough has formed elasticity.
Note: if you are using your bread machine, watch until the dough starts to pull away from the sides of the bread pan, then add the fruit and the raisins and let the machine continue the dough making process.
You will know your dough has formed it's gluten when you pick up a piece and pull on it and it has a window effect without tearing, (it has elasticity).
Remove the bowl from the mixer, cover with plastic wrap and a clean towel and allow to rise for 1 hour.
Note: If using your bread machine, when the machine signals that the dough is ready, transfer to a clean bowl, cover with plastic wrap and a clean towel and allow and dough to rise for 1 hour.
It has been 1 hour, and you can already smell the wonderful dough with the fruit flavors, and the sweet dough flavor. These are going to be some extra special buns.
Spray a 9 X 13 inch baking pan with non-stick baking spray.
Remove the dough from the bowl and divide into 12 equal pieces. Roll each piece into a good palm sized ball, (about 1/3 cup size / or a muffin scoop sized).
Place the balls in the greased pan.
Cover the dough with plastic wrap and a clean towel and allow the dough to rise for 1 hour. Notice that I leave plenty of space between each bun for expansion.
It's been 1 hour and the buns have doubled and they now fill the pan.
Preheat your oven to 375 degrees.
While the oven is preheating, in a small bowl to the 1 egg white that you reserved from the dough, add 1 Tab. of room temperature milk. Stir well to incorporate.
Brush the milk topping over each bun. Bake the buns for 20 minutes, until the buns are golden brown.
After 20 minutes, remove from oven and allow to cool on a wire rack for 20 minutes before removing from pan.
Once the buns are cool enough to handle, remove from the pan, transfer to a cooling rack and allow to cool completely.
While the buns are cooling, make the icing.
In a small bowl combine the confectioners' sugar, vanilla extract, pinch of salt, 4 Tabs of milk.
Stir well. You want a stiff icing. Transfer to a piping bag, (I use a clear sandwich bag, that you clip the corner from, for a quick pipping bag).
Once the buns are COMPLETELY COOLED, pipe a cross on each bun, (after all that's why these buns got their name).
Let the icing set up for a few minutes and you are ready to serve.
As you can see, the buns are flaky inside. And the dough has a nice wonderful sweet flavor.
Give these buns are try for your Easter table.
Enjoy!