At our house, we love a good chicken enchilada soup, and a soup that's hearty and fast is even better. This is my recipe for a very good chicken enchilada soup, and it makes a big pot of soup to feed the whole family.
You will need:
2 Tabs. oil
1 cup diced onion
2 cloves garlic, minced
1/2 cup chopped cilantro
1 1/2 cup diced tomatoes
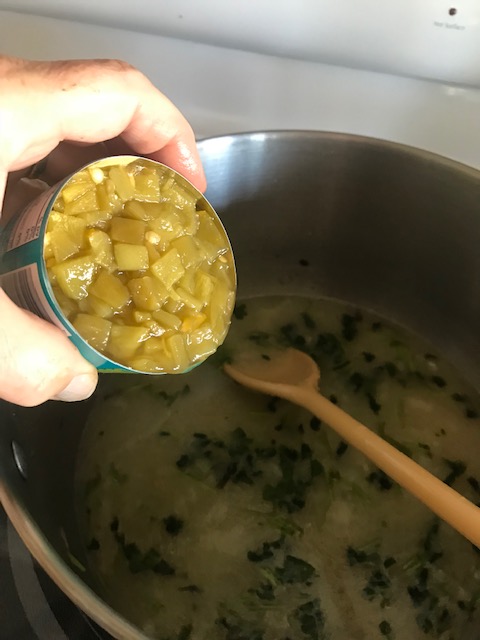
1 4-ounce can of diced green chilies
3 cups chicken broth
1 cup red enchilada sauce
2 cups shredded chicken
1 Tabs. fresh lime juice
1/2 teas. ground cumin
1 14-ounce can black beans
1 cup corn
2 cups shredded cheddar jack cheese
plus items of choice for garnish: diced avocado, diced tomato, tortilla strips, sour cream, more cheese.
In a large, heavy pot, over medium-high heat, heat oil. Add the onions and cook until translucent, (about 5 minutes).
Add the garlic and chopped cilantro. Cook for another 1 - 2 minutes, make sure not to burn the garlic.
Add the chicken broth.
I am using my homemade broth. You can use canned broth, or whatever type you choose.
Add the chopped chilies.
Add the chopped tomatoes.
I am using my canned tomatoes from my garden, but you can use canned tomatoes, (about a 14 ounce can).
Add the red enchilada sauce.
I am using a canned sauce, (for convenience), it is a 10-ounce size. You can use homemade, (I usually make enchilada sauce).
Give everything a good stir.
Add a generous amount of black pepper (about 1 tablespoon).
Add salt also, (about 1 tablespoon).
Stir again, and taste for seasoning. Does it need a little more? If so, add. But don't overdo it. We will be adding more later.
Simmer for 15 to 20 minutes, with a lid on the pot.
Add the shredded chicken.
Add the corn.
You can use fresh or frozen corn. I am using frozen corn from our garden. Feel free to use whatever you have.
Drain and rinse the black beans. Add the beans.
You can even cook dry beans, remove 1 1/2 cups of the beans, rinse them off and use them for the soup.
Add the ground cumin.
Add the fresh lime juice.
Stir well. Taste for seasoning. Does it need any additional salt or pepper? If so add it now. Cook for another 10 to 15 minutes.
Add the shredded cheese. Turn off the heat.
Your soup is now ready to serve.
Ladle it up in bowls and top with your favorite topping.
This summer, we discovered crispy roasted hatch chili chips. Now, instead of tortilla chips, (or anything else), we add these to our chicken enchilada soup and our chili. They are a delicious addition. Add there's no heat to them. If you can find them in your store, give them a try. They are Fresh Gourmet Crispy Hatch Chilies.
A few chile chips on top and the bowl of soup is ready for supper.
Oh, Boy - does that every taste good. And on a chilly fall evening, it's just the thing.
Give this recipe a try. I think you'll enjoy it.
Enjoy!