I am amazed that people will pay $3 and $4 for a loaf of bread at the store when they can very easily make 2 loaves at home for less than $1, and not have all the preservatives in their bread. And the bread you make at home taste so much better, and doesn't take a lot of time to make. This post is my recipe for white wheat bread. This is the recipe that I entered in the fair this year.
As you can see, this recipe was worthy of the first place blue ribbon at the fair. And not only that...
It also won the county Mayor's Choice Award for all the entries, in all the categories, for all of the Home Arts Division. The mayor was quoted as saying, "this is just like my mom's bread".
This recipe will make 2 loaves.
You will need:
2 cups warm water
1/4 cup sugar
1 packet yeast
2 cups whole wheat flour
1 Tablespoon salt
1/4 cup oil
4 cups all-purpose flour
In a large bowl, combine warm water and yeast.
Add sugar
Add whole wheat flour
Gently stir to combine.
Cover mixture with a clean towel and let sit for about 5 minutes until bubbly, (this is called proofing the yeast).
Add the oil
Add the salt, (the salt keeps the yeast from growing too much).
Gently stir to combine.
Now working 1 cup at a time, Stir in 3 cups of all-purpose flour.
As you add in the flour the dough will start to come together and loosen from the sides of the bowl.
Once you have worked the 3 cups of flour into the mixture, it will look like this. It will still be quite sticky.
Take the 4th cup of flour and spread 1/2 on the work bench.
Turn the dough out onto the work bench.
Start kneading and working the remaining flour into the dough until the dough is no longer sticky. I start out first using my dough scraper to work the flour into the dough, and then after a few minutes switch to my hands, (when it's not to sticky to work with). Keep kneading the dough until it is nice and smooth. (The kneading process is; pulling the top of the dough down with your finger tips to the center of the dough, and then using the heel of your hand to push the dough back down into the counter away from you - this is what creates the gluten in the dough).
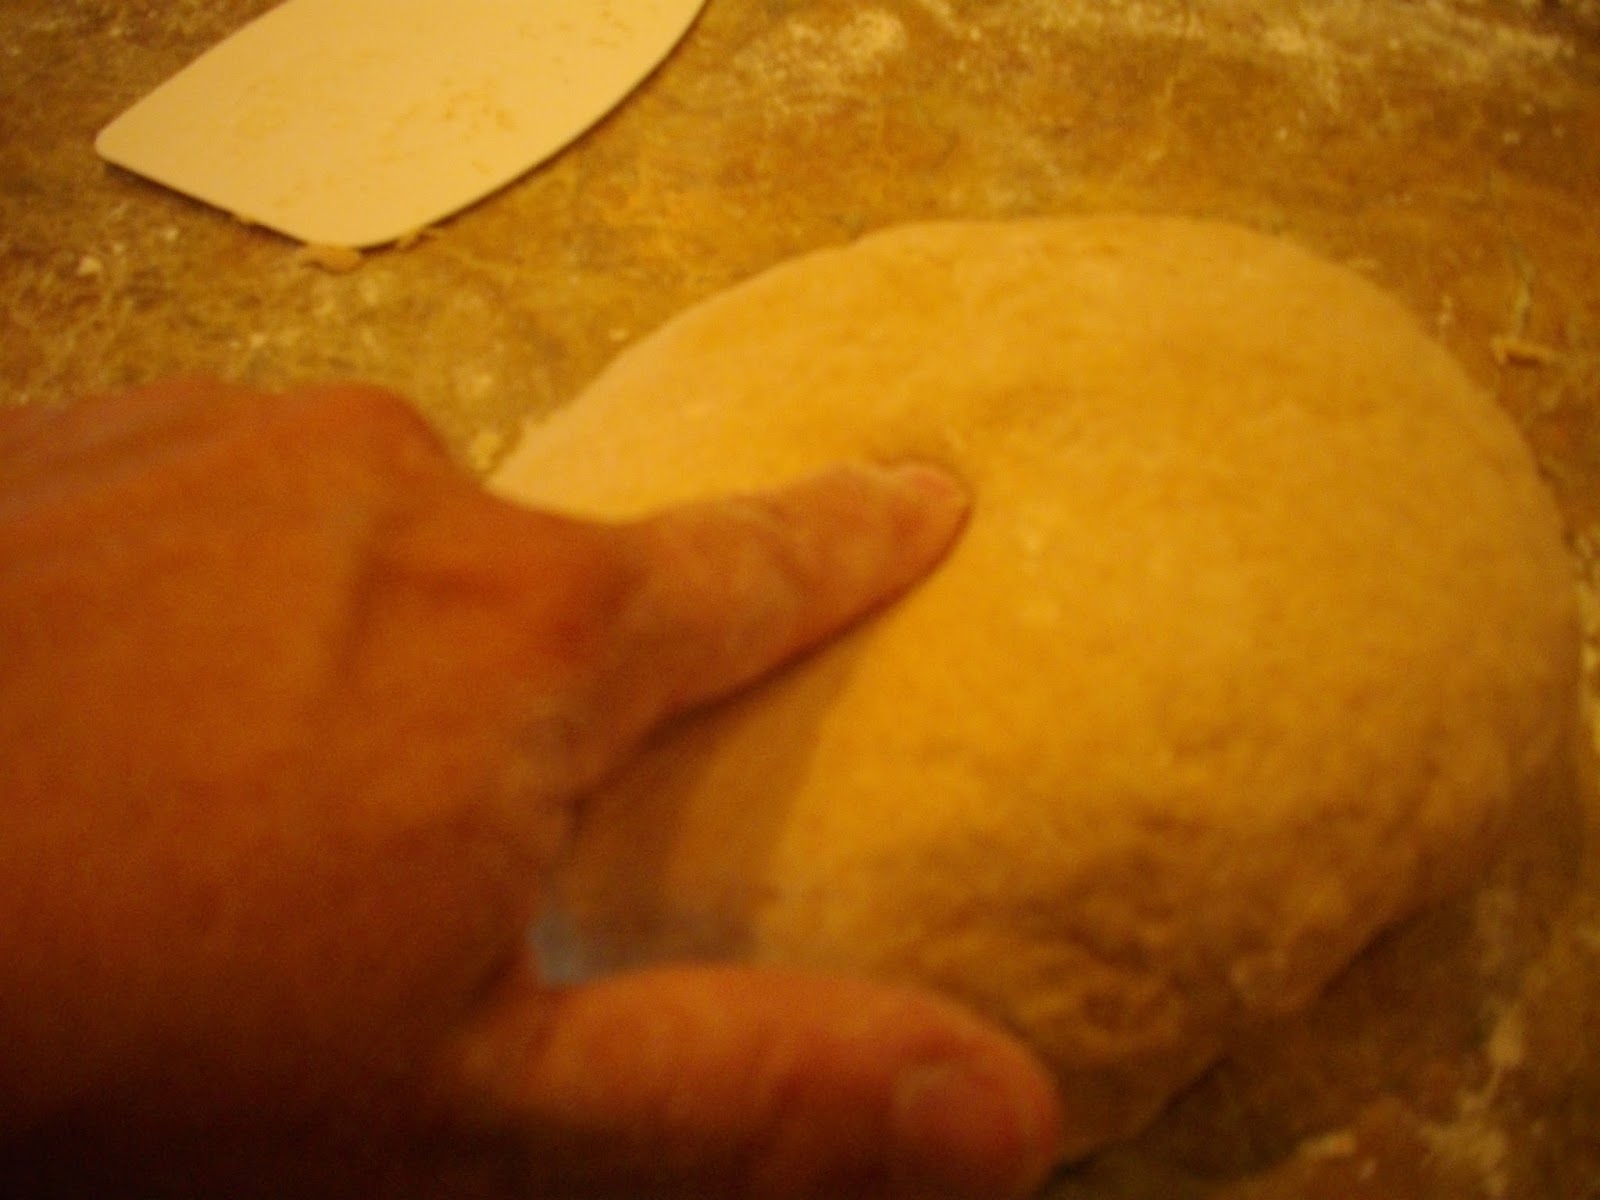
As you are kneading, you will begin to form a nice tight ball. You will know that your dough has formed enough gluten when you press a finger into the ball and the dough springs back.
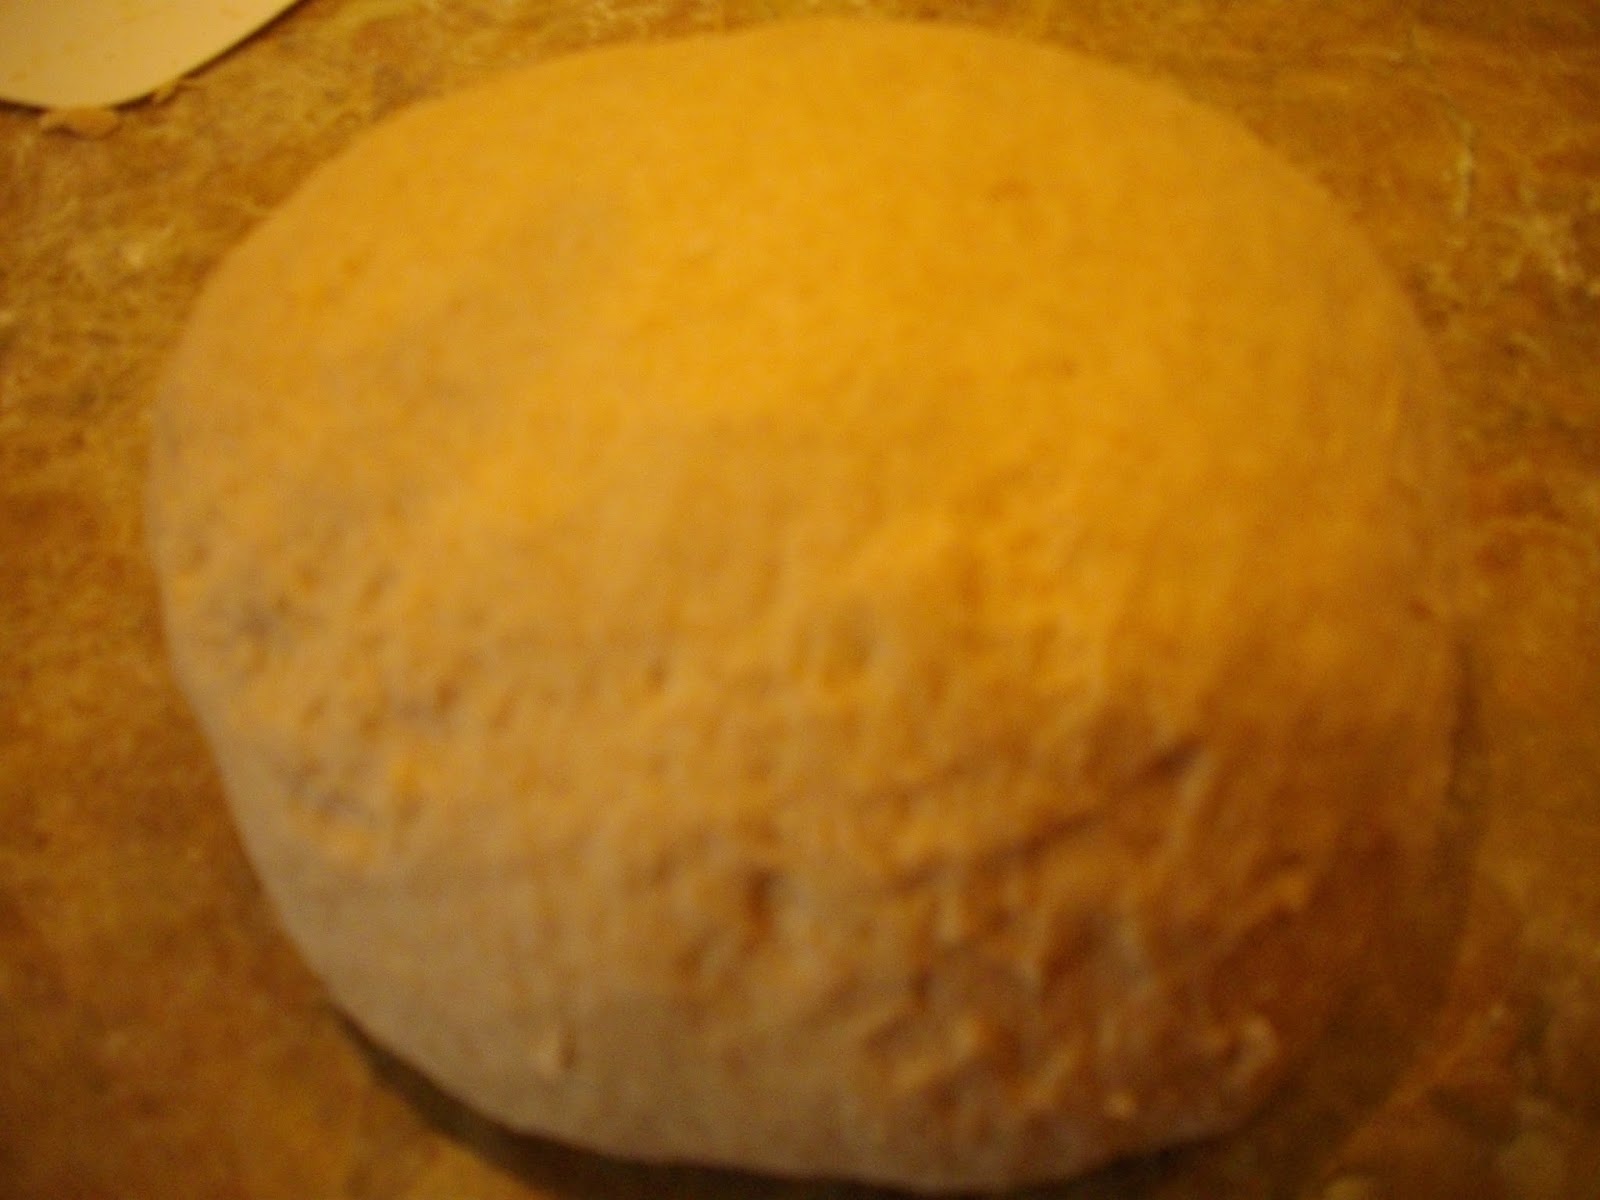
Once you have kneaded the dough and worked the flour into the dough and formed a nice smooth ball, it will look like this.
Clean out and lightly oil the bowl you mixed the dough in.
Place the dough in the bowl and turn it over to oil the top and bottom.
Cover the bowl with plastic wrap, and then a clean kitchen towel. Set the dough in the warm place to rest for at least one hour.
It's been an hour, and this is what my dough looks like. It has grown quite a bit. And you can smell the wonderful yeast in the flour.
Turn the dough out unto the work bench. Divide into half.
Gently roll the dough into a long rectangle, (approximately 8 inches long by 4 inches wide).
Starting at one end, roll the dough into a loaf, making sure to seal the dough as you roll it. This helps prevent air pockets inside the loaf, (to form a seal, just press the dough down with your fingertips).
When you get to the end, make sure to seal the end of the dough unto it's self, (to form the seal, just pinch the dough together and it will hold).
Now take your two fingers and press the ends of the bread inside about 1 inch, (this will form a nice neat end).
Make sure and pinch the ends together.
Place each loaf in a greased bread pan. Cover with plastic wrap and a clean towel and set in a warm place to rise for about 1 hour.
After 1 hour, this is what your dough will look like this.
Preheat your oven to 375 degrees,
Bake on the center rack for 30 to 40 minutes until golden brown and the interior temp is 190 degrees, (or you get a hollow sound when you rap on the bottom of the loaf). You want to bake on the center rack to allow enough warm air to circulate around the bread for even baking. After 20 minutes check your bread, and if you oven bakes very hot and the bread is starting to brown too much, cover the bread with some aluminum foil so the top doesn't burn.
And there you have 2 wonderful delicious loaves of fresh made bread that your family will love and eat so fast. Cool on a baking rack for about 5 minutes then remove from baking pans and let cool completely before cutting into. I like to give the outside of my bread a very light coating of butter, (this gives the bread a nice soft crust). But these 2 loaves are for my grand-daughter, (who is vegan), so no butter coating for her. They will still be delicious.
They are delicious with butter, jam, honey, or our favorite is to spread goat cheese on a slice of homemade bread.
And a gift of homemade bread is always a welcome gift. With this recipe, you can keep one loaf and give a gift of one loaf. All for under $1.
Or make several loaves and fill your freezer.
Or divide the dough after it has risen and form 1 loaf of bread, and use the other half to make dinner rolls. Or roll out 1/2 of the dough and fill the dough with butter then top it with cinnamon sugar, then roll it up, cut it into equal slices, bake the slices at 350 degrees for 20 to 25 minutes and you've got delicious cinnamon rolls.
This is a good dough for so many uses.
So. make some bread, and ENJOY !