Making good food at home without breaking your budget

Monday, December 29, 2014

Ranch Spinach Dip

So you're going to a party, and you want to take something.  But, it has to be easy and quick.  Here's just the thing.  My ranch spinach dip.  And if you use a bread bowl for your container, you don't have to worry about bringing home any dishes, (another bonus to the party night)!.  My husband and grand kids all love this and I can whip it up in no time, plus it's so inexpensive.  This recipe makes 2 cups.
You will need:
1 10 ounce box of frozen chopped spinach
1 16 ounce container sour cream
1 8 ounce can water chestnuts
3 Tabs of my homemade Ranch Dressing Mix
1 Tabs salt
1 loaf bread, (optional)
Fresh vegetables and fruits, (your choice)
Thaw and drain your spinach.  (If you get whole spinach, make sure to chop it up - I find it easier to use already chopped spinach.)  Make sure you get all the water out of the spinach, (very important!)
Drain and chop the water chestnuts.

In a medium bowl combine the sour cream, water chestnuts, spinach, salt, and ranch dressing mix.

Note:  If you want to substitute a 1 ounce package of store purchased ranch dressing mix, then do NOT add the salt.  I choose to make my own dressing mix, so that I don't add all the extra salt and chemical preservatives to my dip.  It allows my dip to taste fresher.  (Click on the link to get the recipe for my homemade ranch dressing mix.)
Now cover and chill for 30 minutes while you get your bread bowl ready.
Today I am using a square loaf of rosemary garlic herb bread that I made in my bread machine, (I think this will be a different way to present the dip).  You can use a nice round French bread, a soup bowl, a scooped out long french loaf, or even just serve it in a nice attractive bowl.  I like not bringing home a bowl to wash, (and the guest like to eat the bread bowl - scooping out the last of the dip).

I removed the top 1/3 of the loaf and the inside portion.  Save the bread, so you can cube it to serve with the dip.  Everyone loves to dip bread as well as the vegetables and fruits.  Start chopping you fruits and vegetables.
OK - now it's been 30 minutes.  Give your dip a quick taste to see if it needs any more salt.  It shouldn't, but if your tastes run different, just add a little more and give it a good stir.  Then fill the bread bowl.
Already you can see that my dip is coming together.  I just set it back in the refrigerator until I'm ready to leave for the party.
Here's my bread from the inside of the loaf, I've cubed it into nice size pieces, (about 1 1/2 inches squared).
Now, just start layering your fruits and vegetables around the bread bowl.  See if your hostess if will to provide the platter for you, you've scored - just take the food items to the party, set up the platter, and come home empty-handed, (no mess to clean up at home !!).

My platter is always one of the very first to be cleaned out, and everyone remarks about how good and fresh the dip tastes.

Give it a try for your New Year's Eve party or at your next cookout, and let me know how you displayed your dip.

ENJOY and HAPPY NEW YEAR TO ALL MY FOLLOWERS.  I hope you've all signed up to received your weekly email recipe.

Monday, December 22, 2014

Spaghetti Casserole (Crock pot Style)

Today's recipe is one that my husband makes all the time for his company's pot luck parties.  It requires very little ingredients, hardly any hands on time, and everyone at his company seems to love it, (because very little of it makes it's way home).  And the best part, he makes it by himself, which frees up my time!!  So, as he prepared this, I took the photos.

You will need:
1 - 16 oz package of thin spaghetti, (you can also use regular spaghetti)
1 - 10 oz can of chicken, (or ham, depending on your dietary/religious preference - we used to use ham, but so many of my husband's co-workers no longer eat pork that we now use chicken)
1 can cream of chicken soup
1 can cream of mushroom soup
2 cups shredded mild cheddar cheese
1/4 cup roasted red pepper
1/4 cup chopped green pepper
1 teas. each of salt, pepper, and garlic powder
First, butter your crock pot really good on the bottom and 1/2 of the way up the side.
Break the spaghetti in half, and cook the spaghetti, just until it is almost done, (about 3 - 4 minutes less than the package requires).
Chop your green pepper, (about 1/4 of a medium sized green pepper)
Chop the roasted red pepper strips
Once the spaghetti is ready, drain the spaghetti and add it to the crock pot.
Drain the chicken and add the chicken, green pepper, red pepper, cream of chicken soup, cream of mushroom soup, salt, pepper, and garlic powder, and 1 cup of water.
Give everything a good stir.  Place the lid on the crock pot and set the temperature on low for 4 hours.  Give the casserole a stir every once in a while and if it looks like it needs a little more water, add 1/4 cup - you don't want it to be soupy, but you don't want it to burn or stick to the bottom of the crock pot.


And this is the finished product.

I was surprised 11 years ago when my husband first made this and swore that everyone at work loved it, and that he's been making it for years.  But then he managed to save a small bowl to bring home for me to taste and it was actually GOOD !!  I've tasted it both with the ham and the chicken, and they are both really good.  It's an inexpensive way to feed a group of people, and you don't have to fuss over the dish for any period of time.


And once again, only one bowl made it home for me to sample and take a photo of for the blog!!  And it was a very small amount.  So, the next time you are looking to feed a lot of people give this Spaghetti Casserole a try.  All you need is a side salad and your meal is complete.


ENJOY!!

Monday, December 15, 2014

Raspberry Rice Pudding

We all have those comfort foods that bring back our sweet childhood memories, (macaroni and cheese, mashed potatoes, homemade chicken soup, Tapioca pudding).  For me it's rice pudding.  When I was growing up, my mom would make a BIG pan of rice pudding for supper's dessert.  We would always have the leftover for breakfast the next morning.  Sometimes mom would add raisins, (in the winter), sometimes she would add raspberries or blackberries, (in the summer).  I remember we would go out picking wild raspberries for mom and I always made sure I picked as many as possible, so that there would be plenty for the rice pudding.  Back in the early 90's, I was telling my co-workers about this wonderful rice pudding, and they challenged me to reinvent it into a healthier version and bring it in for a taste test.  It was an instant hit!!  I cut the recipe down, (my mom had to feed a family of 9 - not me!).  I replaced the whole milk with skim milk, the long grain rice with jasmine rice, and reduced the sugar by 1/2.  The result was wonderful and not a grain of rice came home.  My co-workers often asked to bring it in on winter days to share for lunch time.  Lucky me, this week a local market had raspberries on sale, so I grabbed 8 cups, (knowing that raspberry rice pudding was on my menu).  So here is my updated version of my mom's Raspberry Rice Pudding.
First preheat your oven to 325 degrees
Spray coat a 2 quart baking dish with nonstick spray.
You will need the following:
1 cup uncooked jasmine rice
4 cups skim milk
1/2 cup sugar
2 teas vanilla extract
1 teas ground cinnamon
1/2 teas salt
1 cup fresh raspberries (in a pinch you can use frozen raspberries)
Rinse your rice well to remove the starch.

Note:  if you don't have jasmine rice you can use regular long-grain rice, but jasmine gives the pudding another layer of flavor that is so good. I always give my rice 3 good rinses, until the water runs clear.
In a medium saucepan, Stir the rice and sugar into the milk.

Note:  if you don't want to use skim milk, you can use 1% or 2%, but, the pudding will have more fat. My version is a healthier version.

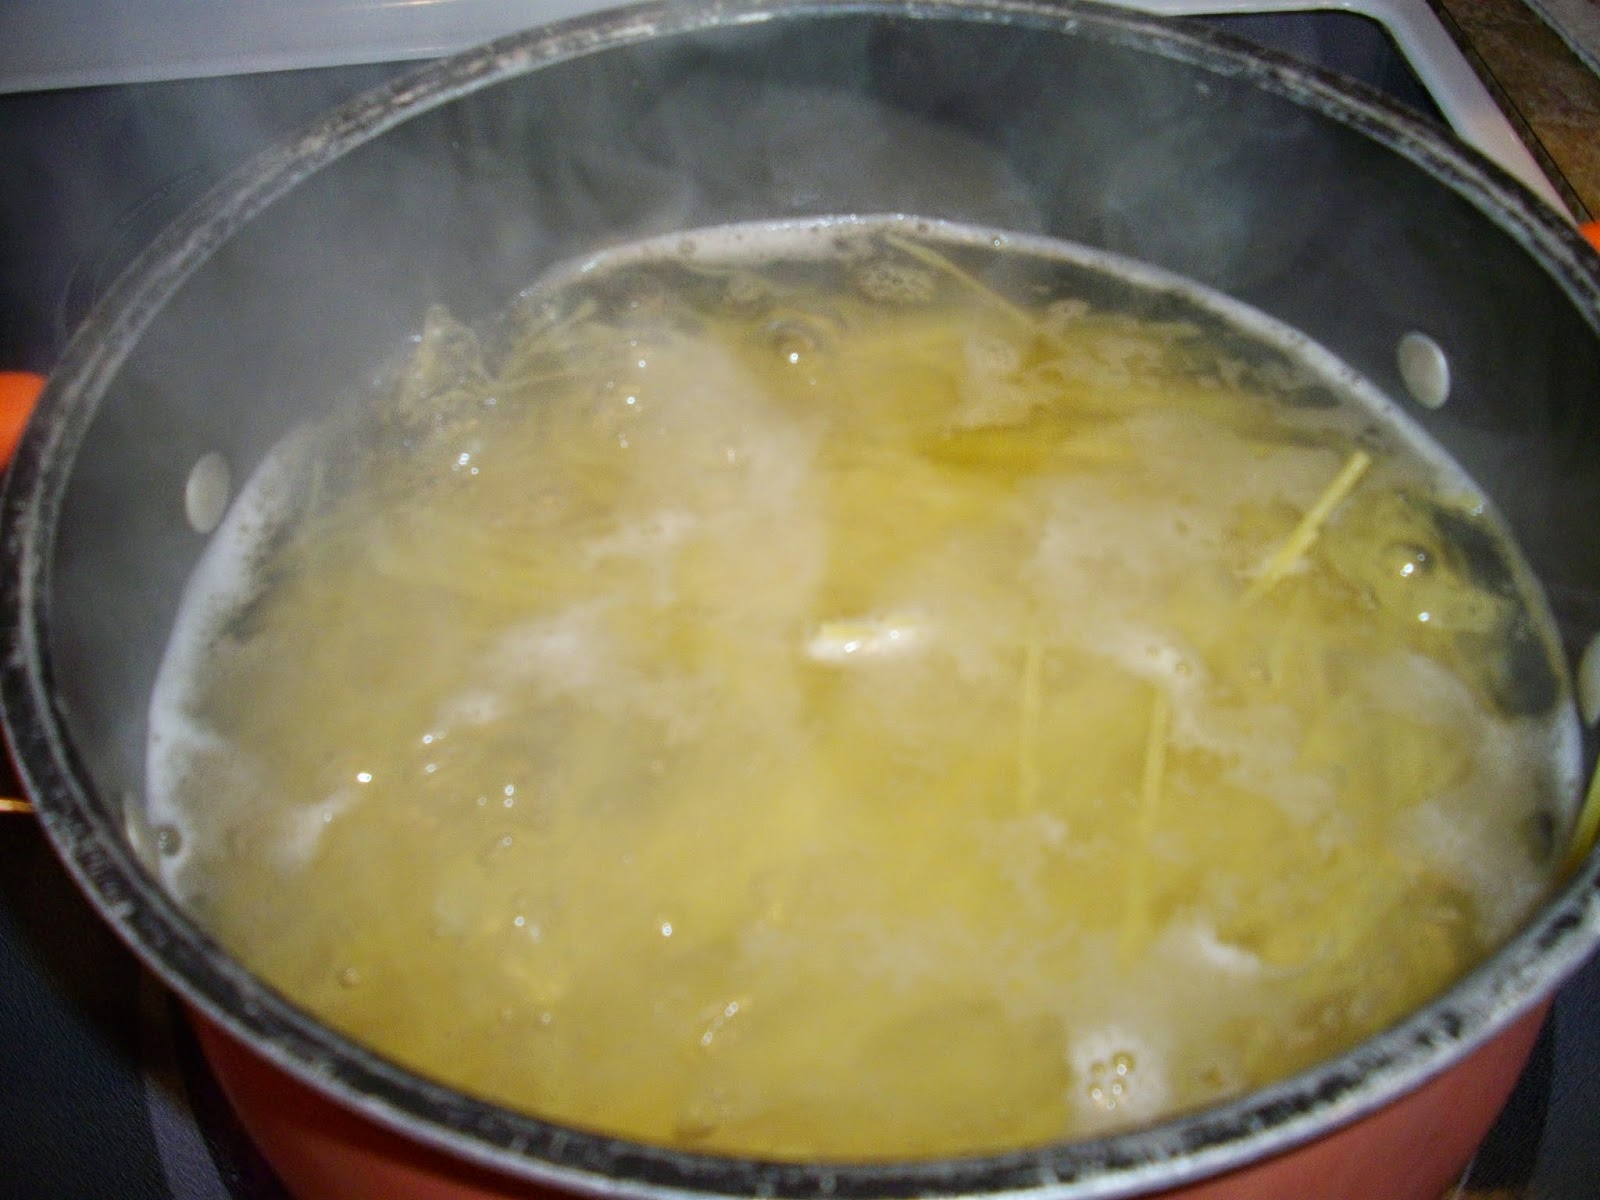
Place the rice/milk mixture over medium heat.
Add the salt, vanilla, and cinnamon.  Stir to mix well.  Continue cooking at a low simmer, for 6 minutes over medium heat, stirring every once in a while to prevent sticking.  The mixture will have a nice mocha color, and you will notice that the rice is starting to plump up.
Pour the rice mixture into your baking dish.  Cover with foil and bake for approximately 30 - 40 minutes, (until most of the liquid is absorbed).
Remove from oven and let stand on wire rack for 10 minutes to cool slightly.
Remove foil and gently fold in your raspberries. OH MY GOSH!, this smells so heavenly already.
It's so hard for me to let this wonderful mixture cool down.  I just want to dish up a bowl right now, but I will patiently wait about 15 more minutes, so I don't burn my mouth.  You can serve this dish warm, or cold.

It is delicious the next morning for breakfast.  Some of my family would add milk and eat it like cereal, but I just like to eat it served in a bowl cold for breakfast.
OK - it's been 15 minutes, and time for me to do some quality control checking.   YUMMY!!  I wish you had smell-a-vision or taste-a-vision.  This is delicious.  Yet, such a simple comfort food.

Did you know that rice is served in every country on the planet.  It is also the one grain that even those who can't eat wheat can enjoy.  Rice is one of the first solid foods most babies eat, (strained rice cereal).  No wonder rice pudding is such a comfort food.

ENJOY !

Monday, December 8, 2014

Homemade Enchilada Sauce

 I'm sure we've all purchased a can of enchilada sauce to make our tortilla casseroles or enchiladas.  BUT, have you read the ingredient list?  The first item is water, (which means that the can contains mostly water), a few pieces of dried chilies, some sprinkling of spices and Fumaric Acid, (to preserve the shelve life).  And the cost for a small can of this is usually $1.50, (sometimes you might catch it on sale for $1.00 a can).  Did you know that you can make your own for just a few pennies?  And it's not runny like the canned version!!  Plus, you can control the amount of heat, since your adding the spices.  Let me show you how quick, easy, and inexpensive it is.
For the sauce you will need:
1 cup of beef broth, (I always save my broth when I cook a roast, but you can use canned or even beef bouillons, just reduce the salt).
1 Tabs corn starch
1 (6 oz) can tomato paste
1 Tabs dried chili powder
1 Tabs dried cumin
1/2 teas oregano
1/2 teas dried basil
1/2 teas garlic powder
1/2 teas onion powder
1/8 teas salt
1/8 teas pepper
In a saucepan, combine the beef broth and the corn starch.  Whisk until well blended.
Now add the 6 oz can of tomato paste.  Whisk until well blended and the tomato sauce dissolves.
Cook over medium heat, stirring well.
After a couple of minutes, add your chili powder, cumin, oregano. basil, garlic powder, onion powder, salt and pepper.

Note:  If you want your sauce extra spicy, add more chili powder.  Whisk to blend well.  Continue cooking until the sauce starts to thicken.
Give the sauce a taste to see if you want it a little more spicy.  If so add more chili powder.
Once it has thickened a little, remove from heat.  And now you have enchilada sauce, ready to use!
In just about 5 minutes and for just a few pennies, I have enchilada sauce.  And it's much thicker and has more flavor than what's on the store shelves.  You can also make up larger batches and freeze it to use later.

So, go make a tortilla casserole, or some enchiladas for dinner.

Enjoy!!

Monday, December 1, 2014

Peanut Butter-Oatmeal Cookies

My husband loves oatmeal cookies, he also loves peanut butter cookies.  What could be better than putting the two together and making a Peanut Butter-Oatmeal Cookie?  These are really the best of two cookies in one!  This recipe makes 3 dozen good size cookies. And by substituting 1/2 of the margarine with applesauce, I am reducing the fat.
First preheat your oven to 350 degrees.  I like to line my baking sheets with parchment paper, (to help with clean up), but it's not necessary.
You will need:
2 cups quick cooking oats
2 cups flour
1 tsp baking powder
1 tsp baking soda
1/4 tsp salt
1/2 cup margarine
1/2 cup applesauce
1 cup smooth peanut butter
1 cup granulated sugar
1 cup firmly packed brown sugar
2 large eggs, (slightly beaten)
2 tsp vanilla extract
2 cups semi-sweet chocolate chips
In a medium bowl combine the oats, flour, baking powder, baking soda, and salt.  Stir the ingredients to mix everything, then set aside.
In a large bowl add the margarine, applesauce, and peanut butter.  Beat on medium speed until smooth.
Add in the brown sugar and granulated sugar.  Beat until blended into the peanut butter mixture.
Add in the eggs, beat until blended in. It is now becoming very smooth and creamy.
Add in the vanilla, beat until blended in.
Add in 1/3 of the flour/oat mixture and beat just until incorporated, add another 1/3 of the flour/oat mixture and continue beating until incorporated, and then add the remaining 1/3 flour/oat mixture and beat until just incorporated into the peanut butter mixture.
The mixture will be a wonderful peanut butter color.  Now stir in the chocolate chips.  (You can also substitute dried cranberries or nuts.)
Drop by heaping tablespoons until baking sheet, (if you are not using parchment paper, do NOT grease the baking sheet).   Bake for 12 - 13 minutes until the cookies are set and golden.
The cookies look delicious and smell wonderful.  Set the cookie sheet on a wire rack for 5 minutes to cool, then transfer cookies to wire rack to cool completely.
And now you have 3 dozen wonderful cookies to share.
And what goes better with a couple of cookies, a glass of cold milk.

ENJOY !!