Whenever there's not quite enough meat for a complete meal, you can always make up a big pan of fajitas and everyone is filled and satisfied. Today, I am going to make shrimp fajitas, but this recipe can be easily adapted for chicken or beef. This recipe makes 12, and will easily feed 4 to 6 people.
You probably have everything you need on hand already.
If you don't have any tortillas on hand you can easily make some, with these few ingredients:
2 cups flour (all purpose is fine to use)
1/2 teas salt
1/2 cup lard
2/3 cup water
In a medium bowl combine salt and flour, then stir together well.
Now add the lard
Work the lard into the flour, (I find that my fingers are the easiest way to accomplish this). It's just like making a pie crust.
You want a cornmeal consistency.
Now add the water and stir it into the flour.
Work the water into the flour until the dough comes together.
Divide the dough into 9 or 12 pieces. (the more pieces the small the tortilla will be).
If you have a tortilla press, that's great, (it makes easy work flattening the balls). If you don't have one, then just use a well floured rolling pin. I like to use parchment paper between my tortilla flats, so the dough doesn't stick. Place one ball in the center of the bottom half
Close the top of the press, and press down with the lever.
Just like that your tortilla is flattened and ready to cook. If you decide to hand roll with a rolling pin, make sure you roll the dough very thin.
While I was pressing all my dough balls, I placed my tortilla pan on the stove over medium high heat, (any pan will work, a cast iron pan is the best, but not necessary).
Now cook your tortilla for a couple of minutes on each side, just until it starts to brown.
If you have a tortilla warmer, place the cooked tortillas in there to keep them warm. Or you can wrap them in a dish towel on a flat plate.
If you decide to purchase your tortillas, then just start from this step. Warm your tortilla and place them in a tortilla warmer.
To make the fajitas you will need:
1 pound of shrimp, (1/2 # chicken or beef)
1 lime
1/2 teas each of salt, cumin, oregano, chili powder, garlic powder
1/4 teas cayenne pepper
2 Tabs oil
2 peppers, (I like to use 1 green and 1 red)
1 small/medium sized onion
2 cloves garlic
1 tomato (I like to use Roma)
Garnishes: cilantro, green onions, sour cream, guacamole lettuce
In a small bowl I make my universal chili seasoning. This can be used on so many things, (tacos, enchilada meats, chili Verde meats, etc., )
1/2 teas salt
1/2 teas cumin powder
1/2 teas oregano
1/2 teas chili powder
1/2 teas garlic powder
1/4 teas cayenne pepper
Mix together well
I have 1 pound of medium shrimp. (you could easily use 1/2 pound of chicken or beef cut into bite sized cubes - you don't need much meat). Remove the tail shell, and check that all the intestinal tract has been well cleaned. Place the meat into a plastic bag.
Note: If you are using the larger size shrimp, you will probably want to cut the shrimp in half.
I save my shrimp shells in a small bag, then freeze them, so that when I make a seafood stock I can add them to flavor the stock.
Add the juice of 1 lime
Add the spice mixture
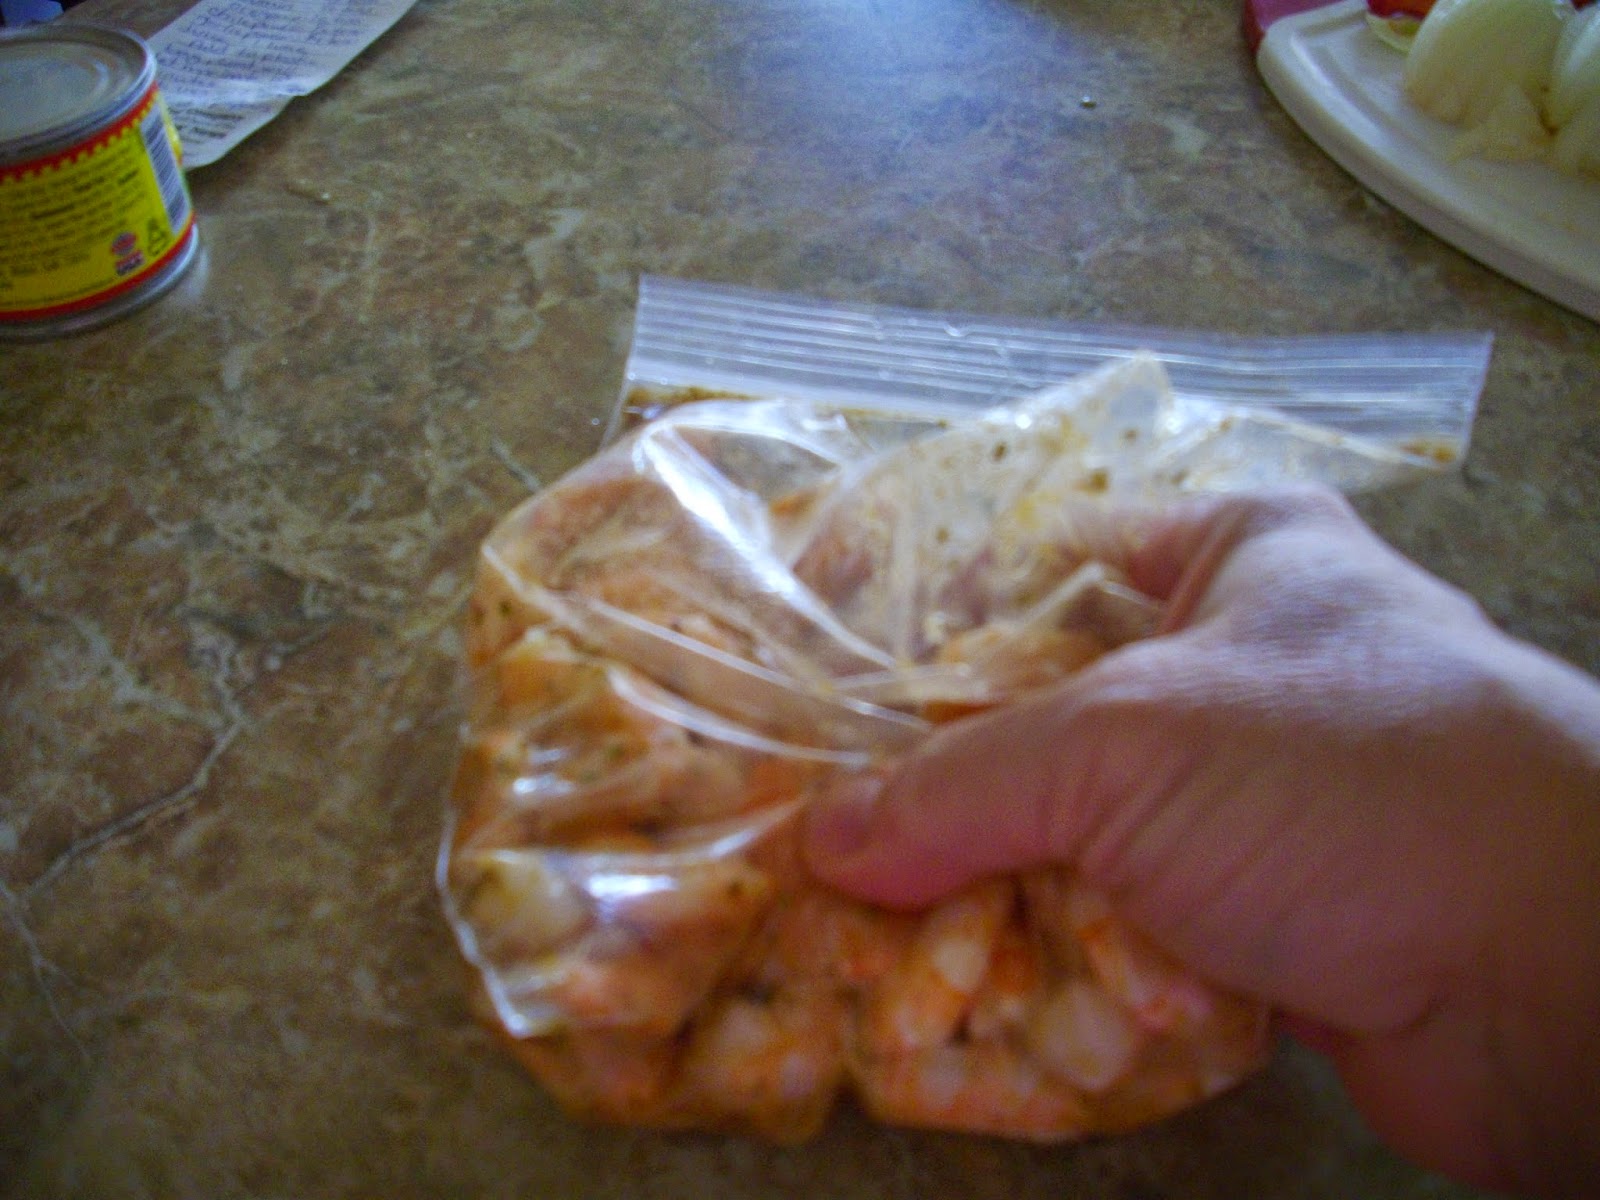
Seal the top of the plastic bag and massage the juice and spices until all the meat is well covered.
Let this set aside for 10 minutes
While the meat is marinating, chop and slice your vegetables:
peppers, (1 red and 1 green - or use yellow for more color) - sliced into strips
1 onion - sliced into strips
1 tomato - sliced into stripes
2 cloves of garlic
In a large pan, over medium heat, heat the 2 Tabs of oil
While the oil is heating you can chop your garnishes:
a handful of lettuce and 1 tomato chopped
3 or 4 green onions
a few slices of cucumber
a few slices of jalapeno pepper
homemade guacamole
sour cream
Once the oil is hot, add the meat and the marinade. Cook for a minute or two.
Next add the chopped peppers, onion, and garlic. Stir well and continue cooking - stirring every so often so it doesn't burn.
Since my husband like a little heat, I am adding one chopped chili pepper. This is simply a choice and not required.
After about 4 or 5 minutes, put a lid on the pan and allow the steam to cook the peppers and onion for 2 or 3 minutes.
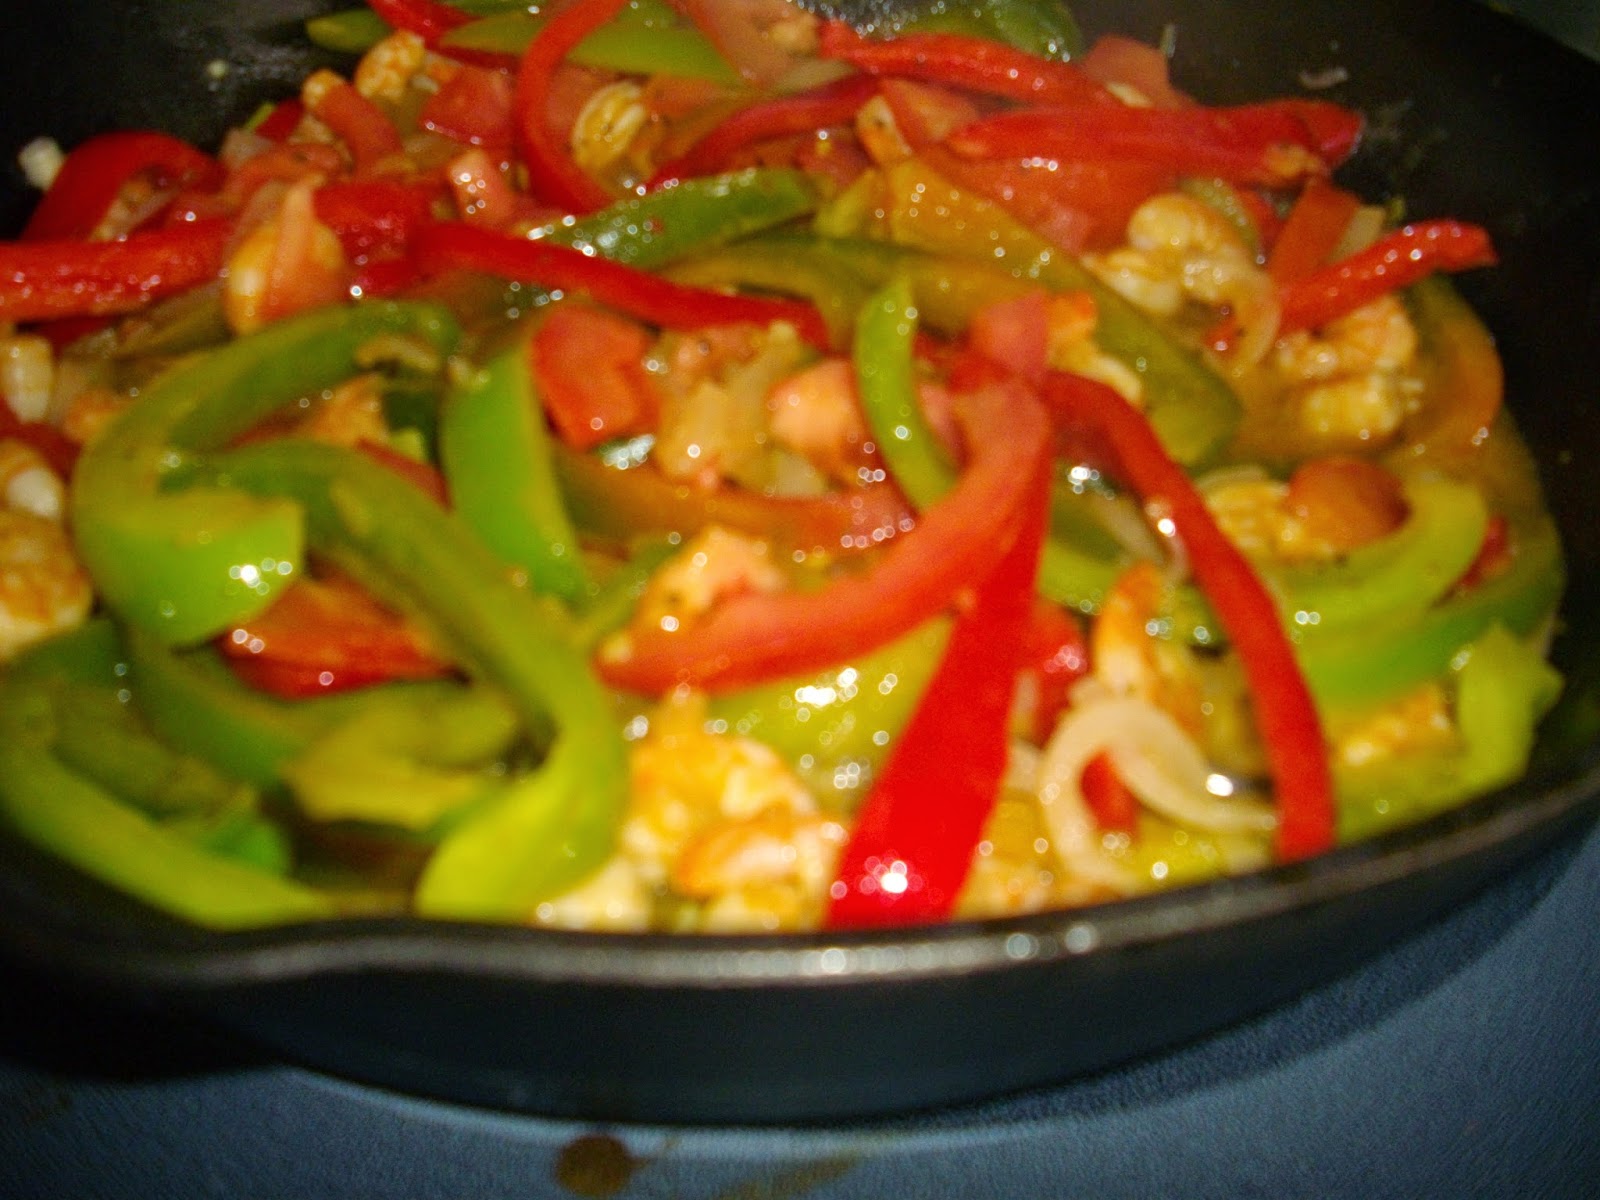
Add the sliced tomato, stir well.
And there you now have the filling for your fajitas.
I'd better do a "quality control check!" Yup, that's just right. Doesn't need any more salt or pepper. Tastes yummy.
Tonight, I'm serving my fajitas with homemade Mexican rice, re-fried beans, and garnished with a side of lettuce/tomatoes cucumber slices, and sliced green peppers.
And the leftover filling makes a excellent lunch the next day. Just wrap 2 tortilla in a paper towel, heat them for 40 seconds to 1 minute in the microwave, fill with heated fajita filling and enjoy!
Enjoy!
Making good food at home without breaking your budget
Monday, April 20, 2015
Monday, April 13, 2015
Grandma Barbara's Granola Bars
As the grand kids were growing up, they would look through the kitchen and then ask "where's grandma Barbara's granola bars?". That's how these delicious granola bars got their name! They are easy and fast to make, and they don't last long around our house. I get 12 bars out of each recipe, and when you compare that to the cost of one or two store bought granola bars, it's a major savings!!
You will need:
2 cups quick cooking oats
2 cups crispy rice cereal
1/2 cup peanuts
1/4 cup dried cranberries
1/2 cup chocolate chips
1 cup creamy peanut butter
1/2 cup honey
1/4 cup brown sugar
1/2 teas vanilla extract
dash of salt
First you will need to line a 8" X 8" pan with parchment paper, (leaving some over hang, this will aid in lifting the granola out).
In a large bowl, combine oats, peanuts, crispy rice cereal, dried cranberries and 1/4 cup of the chocolate chips. Stir well.
In a medium bowl combine the peanut butter, brown sugar, salt, and honey.
Stir mixture, then microwave on high for 1 minute.
Remove from microwave, stir well and microwave again for 1 minute.
Remove from microwave, add vanilla extract and stir for 30 seconds.
Caution: This caramel sauce is very hot. Be careful.
Pour the caramel sauce over the oat / cereal mixture.
Be careful not to get any on your fingers, it will burn. Do NOT try to lick the spoon! It will burn!
Stir the caramel sauce into the oat mixture. Be sure to stir the bottom contents up to get all the ingredients well coated with the sauce.
Pour the granola into the parchment lined pan. Press down to form an even layer.
Sprinkle the remaining 1/4 cup of the chocolate chips on top of the granola mixture and press into the granola mixture. Refrigerate for 30 minutes to set up the granola.
After 30 minutes remove the granola
Now you can cut your granola into bars, (or squares if you want) . I like to cut mine into 12 bars.
And there you have a delicious granola bar.
I just store mine in a foam container on the counter, so everyone can easily grab one when they want one. When I pack them for road trips or lunches, I just wrap one in a piece of plastic wrap and it's ready to go.
You can change up the ingredients, add shredded coconut, cashews, pecans, leave out the chocolate chips or dried cranberries. Make it your own version of whatever you like in a granola bar.
Enjoy!
Monday, April 6, 2015
Haroseth
When I married my Jewish husband, I knew that being a gentile wife meant that I would have to learn how to cook some new types of foods. I quickly learned that each household quickly develops their own version of the basic recipes. You are given basic building blocks for matzo ball soup, latkes, brisket, haroseth, etc., etc. You then build upon those basics, and make each recipe your own. Today, I am sharing my version of haroseth. This is served during Passover, and represents the mortar that the Jews were forced to work with as slaves in ancient Egypt. Personally, I think this is the best part of the whole meal. It takes very few ingredients, and makes enough to feed an army. My vegetarian grandson and I love to snack on it all week long. And it's great anytime of the year.
You will need:
2 good size apples (I like to use gala)
1/2 cup walnuts (you can use any kind of nuts)
6 dates
1/2 teas cinnamon
1/2 teas sugar
1 3/4 teas honey
2 Tabs red wine, or grape juice
Core and rough chop the apples, (I like to leave my skin on the apples, some old timers will tell you to peel the apples, but I think there's lots of flavor and nutrition in the skin, and it adds more color).
Cut the dates in half and remove the seed. (Most people don't add dates, but I think it adds more depth of flavor, and I figure the ancient Jews would have used anything they could gather, including dates!).
In a food processor, add the chopped apples, dates, and nuts.
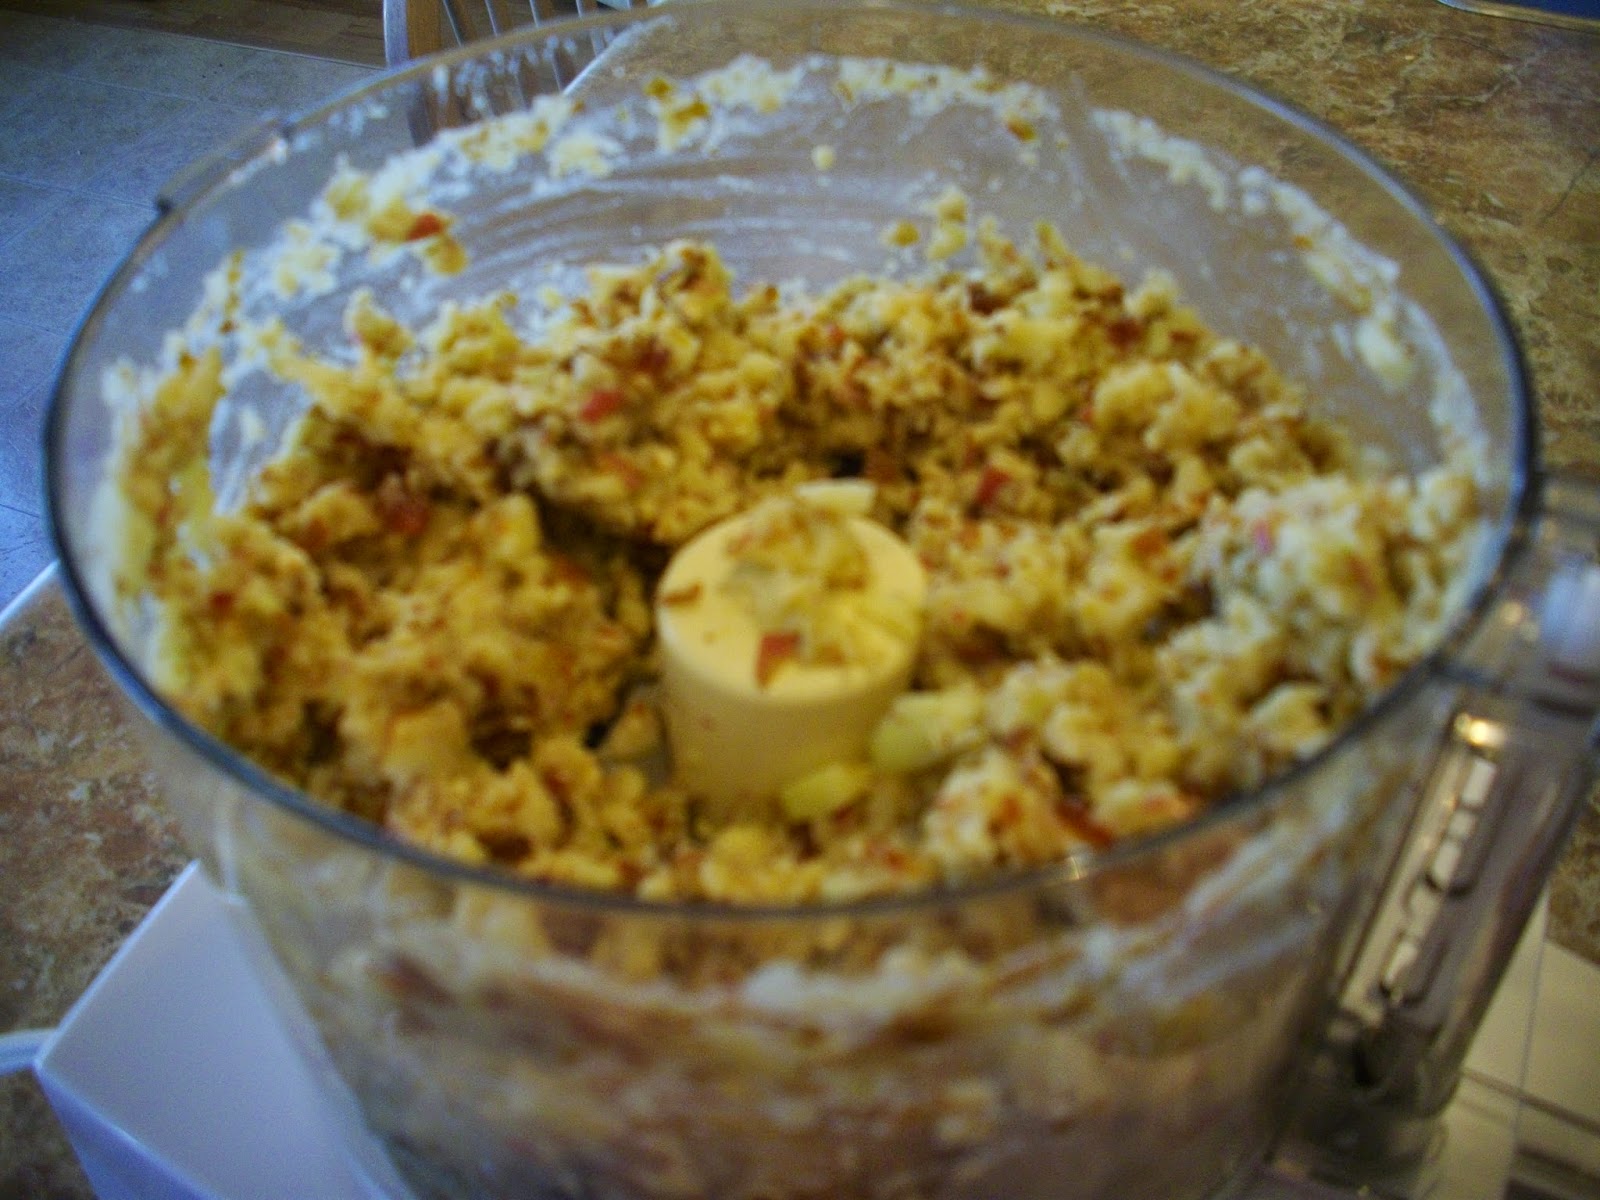
Process for about 30 seconds to finely chop everything up. (The older ladies will tell you that the apples need to be grated on a box grater, but I figure why not let the machine do the work for me, it's easier and so much faster).
Transfer chopped apple/nut/date mixture to a medium bowl. Add the cinnamon, sugar, honey, and wine, (or grape juice). The old timers will tell you that you can only use kosher Passover wine if you are making this for a true Passover service, but it's OK to use grape juice.
Stir well. Then refrigerate for approximately 1/2 hour. This allows the honey to set up and bind the mixture together.
And there you have your haroseth, ready to eat on a piece of matzo cracker. YUMMY!!
Give this a try. The first time my husband tried it, he said, "what's different in here?" When I told him I added some dates, he said "I like them, very good".
Even for a gentile girl, it's a very good thing.
Enjoy!
Subscribe to:
Posts (Atom)